FARONow! Customer Portal - Your FARO Account, Product Licenses, Warranties, and Support Cases

Quick Steps
You can get immediate access to your FARO® account information, products and licenses, warranty status, support cases, and more by registering for an account at FARONow. Getting an account is easy. Just go to https://faronow.faro.com and request your free account.
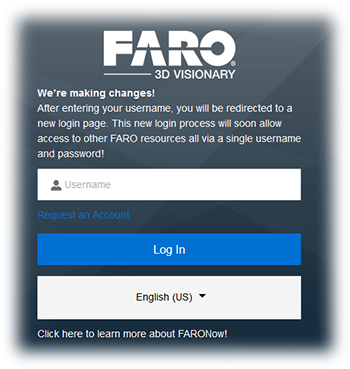
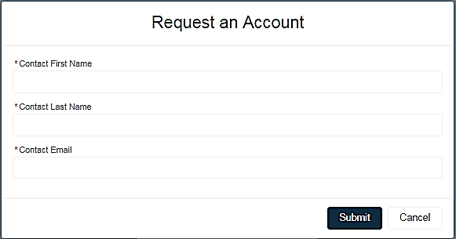
- On the Login page, click Request an Account.
- Provide your contact information and click Submit.
- Within minutes you will receive a welcome email with a link to FARONow and login information. If you do not receive the welcome email, check your Junk or Spam email folder. Firewalls also can block automated emails. If this happens, contact FARO Support.
When you are ready to use FARONow, review the list of services and usage details in the following sections.
Overview
FARONow is a centralized self-help online resource where you can get global, around-the-clock information and help for FARO hardware and software from any computing device.
Here is a list of just a few of the things you can do with FARONow.
- View training and support videos and webinars
- Schedule certifications for your FARO devices
- Login and Access your FARO Account
- Track open cases or review case history
- Check on hardware and software warranty status and renew warranties
- Certify your FARO devices to maintain their accuracy
- View details about your FARO devices and software
- Manage your FARO profile and account
Access Your Portal Account
Navigate to https://faronow.faro.com, the Login page appears. Enter your Username (usually your email) and Password, then click Login.
Password Reset
If you have forgotten your Password, on the login page enter your username and click Log In, then click Forgot your password?
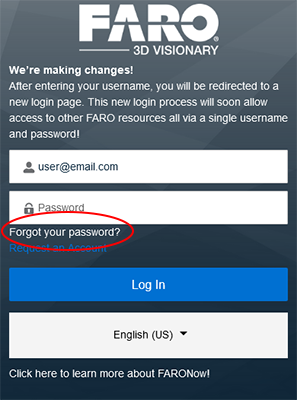
On the next screen, enter your Username/email and you will receive an automated email that provides a link to where you can enter a new one.
Troubleshooting Tips:
- If you do not receive the email, check your Junk or Spam email folder. Firewalls also can block automated emails.
- Once you have received the email:
- If clicking the password reset link brings you to the same login page, try clearing the cache/cookies on your web browser and then try clicking the link in the email again.
- Often corporate security/anti-spam settings can block the password reset link. Please consult your IT department.
If you are still unable to reset your password, please contact FARO Support.
Homepage
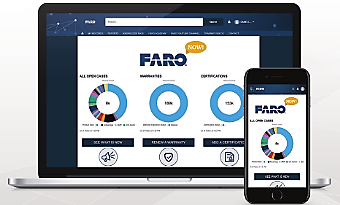
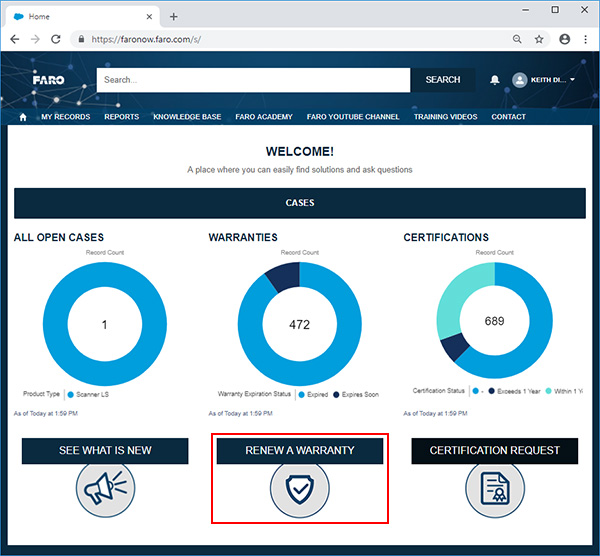
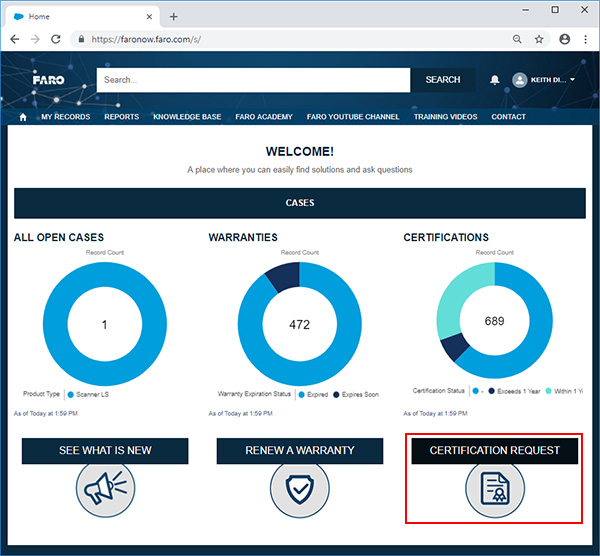
After a successful login the Welcome/Homepage page appears.
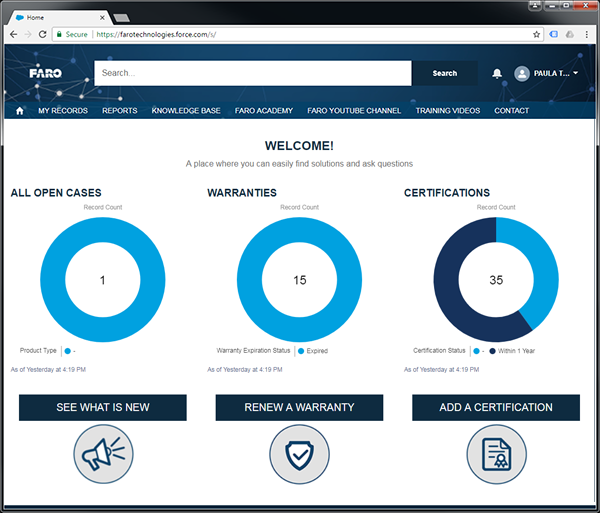
All Open Cases
Displays the number of Cases currently open by product type. Depending on the "Role" type assigned to your user account, some cases may not be viewable by all users. Role types are defined as follows:
- User: Only cases created by the current user will be displayed
- Manager: All cases within the current account will be displayed
Role types are set during the user account creation by FARO. If you wish to change this setting contact FARO Support.
Warranties
The number in center displays the number of assets that are applicable for warranties.
- Light Blue = Expired
- Dark Blue = Expires Soon (90 days or less)
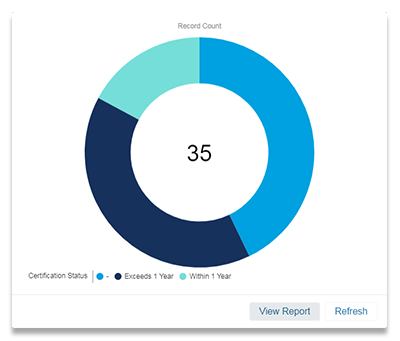
Certifications
The number in center lists the number of assets that are applicable for certification.
- Light Blue = Assets last certified over one year
- Dark Blue = Assets certified within one year
User Profile, Settings, and Account Information
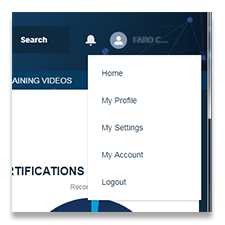 |
The User dropdown menu provides access to user and account setting information and preferences. |
Change Contact Information
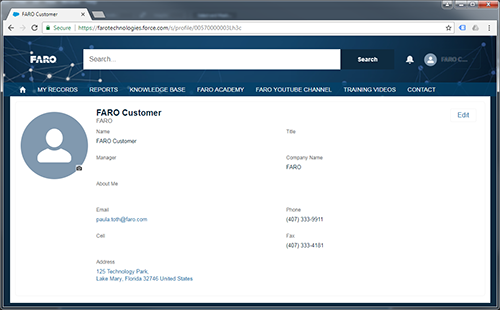 |
Contact information can be found on the My Profile page. This page lists general contact information about the current user. Click the  button at the top right of the page to change any of the entries. button at the top right of the page to change any of the entries. |
Change Language
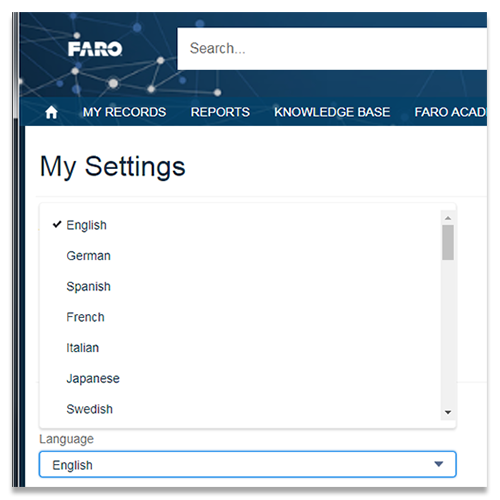 |
The portal has been designed to support our global clients in English, Spanish, German, French, Italian, Japanese, Chinese (Simplified), Portuguese (Brazil), Korean, Thai, and Turkish. Changing the language setting will change all the text, navigation, and prompts within the FARO Portal to the desired language. The language setting can be found on the My Settings page under the Location section. To change the language, select the desired language from the Language dropdown menu and then click the |
 button at the top right of the screen.
Change Email Notifications
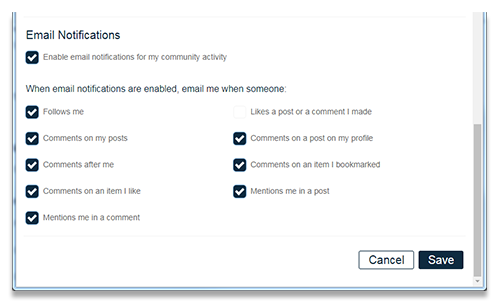 |
Note: Currently these features are not enabled. The FARO Portal provides detailed control of email notifications for a variety of events. Email notifications can be found on the My Settings page under the Email Notifications section. To change any of the notifications listed, simply check or uncheck the associated box and then click the |
Change Password
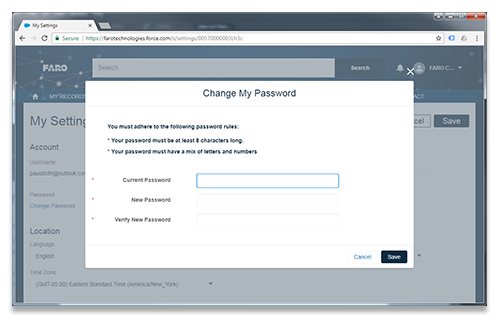 |
The Change password link can be found on the My Settings page under the Account section. To change your password, click on the Change Password link and complete the fields on the Change My Password screen. Once complete click the You must adhere to the following password rules:
|
Cases
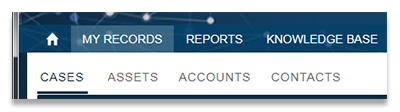
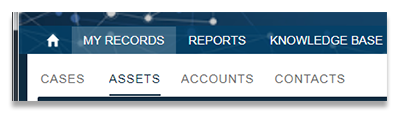
To view, edit, or create a new support case, click on MY RECORDS on the main navigation bar and then CASES on the sub-navigation bar.
 |
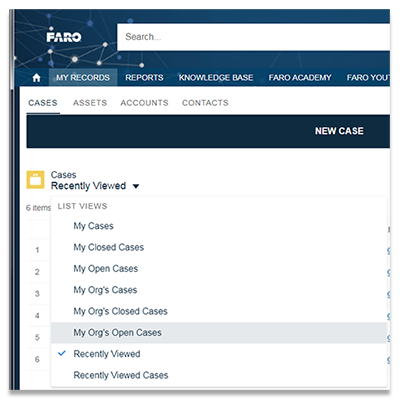 |
By default the FARO Portal will filter the list to "Recently Viewed" cases, to see all open cases, click the dropdown arrow and select My Org's Open Cases. Depending on the "Role" type assigned to your user account, some cases may not be viewable by all users. Role types are defined as follows:
Role types are set during the user account creation by FARO. If you wish to change this setting contact FARO Support. |
Viewing a Case
From the Cases page, click on any case number to view detailed information about the case. The Details tab lists all pertinent information about the case including the case status, effected assets, description of issue/question, and communication preferences.The Related tab will list all Case Comments specific to the case in chronological order as well as Calibration Certificates if applicable.
Create Case
The fastest way to get answers is to create a support case.
|
Click on MY RECORDS on the main navigation bar and then CASES on the sub-navigation bar. |
 |
Click the NEW CASE bar at the top of the CASES screen. |
 |
The New Case form appears. Fill in the form. When you are done, check the form for acuracy and completeness, then click Submit.
|
You are done! You will receive an automated email within minutes and a Support Agent will contact you in less than a day. If you do not receive the automated email, check your Junk or Spam email folder. Firewalls also can block automated emails. If a Support Agent has not contacted you within 24 hours, contact FARO Support.
Assets
To view assets assigned to the account, click on MY RECORDS on the main navigation bar and then ASSETS on the sub-navigation bar.
 |
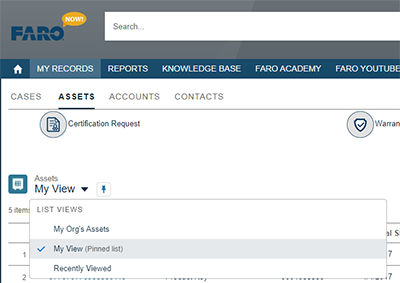 |
By default the FARO Portal will filter the list to "Recently Viewed" assets, to see all assets, click the dropdown arrow and select My Org's Assets. The My View selection, will only display assets assigned to the current FARONow! user. |
Viewing an Asset
Assets are listed by Asset Name, the Asset Name is generated as follows:
- For Hardware, the Asset Name is the Serial Number on the device
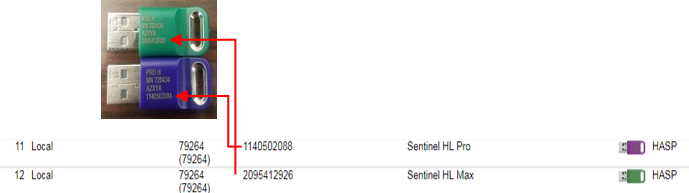
- For a Network Dongle:
- If a number appears on the dongle, this is the Asset Name
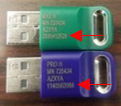
- If not, on the computer with the software installed, browse to http://localhost:1947/_int_/devices.html. Locate the HASP Key ID associated with the asset, this will be the Asset Name.
- For a Product Key:
- Product keys are displayed as is, if you need assistance tracking your software product key to a specific device/computer, contact: aftermarketsales@faro.com
From the Assets Page, click on any Asset Name to view detailed information about the asset. The Details tab lists all pertinent information about the asset including the product name, version/revision information, original ship date, and warranty and certification dates .The Related tab will list all Cases specific to the asset and Calibration Certificates if applicable.
View Warranty Status/Certification Date
To view the warranty status or certification date of a specific asset:
- Navigate to MY RECORDS>ASSETS.
- By default the FARONow will filter the list to "Recently Viewed" assets, to see all assets, click the dropdown arrow and select "My Org's Assets".
- Locate the desired asset and click on the asset name.
- On the next screen scroll down to the bottom of the page and locate the Warranty & Certification Information section. This section lists the following information:
- Warranty Plan
- Last Certification Date (hardware assets only)
- Warranty Expires (Date)
Download a Calibration Certificate
To download the Calibration Certificate of a specific asset:
- Navigate to MY RECORDS>ASSETS.
- By default the FARO Portal will filter the list to "Recently Viewed" assets, to see all assets, click the dropdown arrow and select "My Org's Assets".
- Locate the desired asset and click on the asset name.
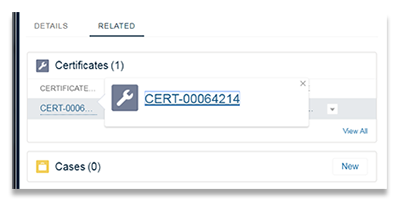
- On the next screen click on the Related tab. In the Certificates box, click on the certificate link listed.
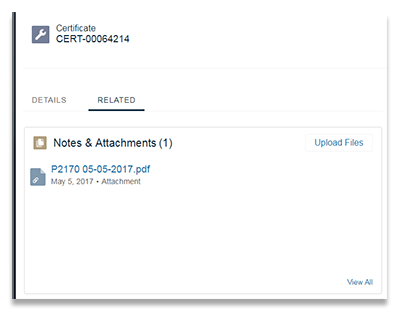
- On the next screen click on the Related tab. In the Notes & Attachments box, click on the PDF attachment.
Renew a Warranty Request
Requests for warranty renewals are quick and easy to create using the FARO Portal.
- From the homepage click on Renew A Warranty.
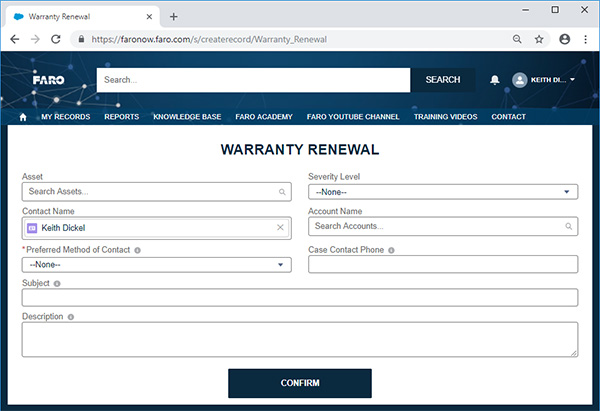
- The Warranty Renewal form appears. Fill in the form.
-
Asset--Clicking in the field will display a list of recently viewed assets. If the desired asset is not shown, enter the first couple of digits of the asset and then click the grey search box. The Asset windows appears where you can scroll through the products beginning with the search query. Click the asset related to the case you are creating. If you are still unable to locate the asset, the MY RECORDS>ASSETS page will list all assets registered to your account.
-
Severity Level--Select an item that best fits your situation from the drop-down menu.
-
Contact Name--Confirm that the correct name is pre-populated. If not, type the first few letters of the contacts first name, relevant contacts will be listed below.
-
Account--Select the Account associated with the case/asset.
-
Preferred Method of Contact--Select how you want to be contacted: by email or phone, If you selected phone, enter the phone number in the Case Contact Phone field.
-
Subject--Enter a meaningful title that you and a Support Agent can both understand.
-
Description--Enter a complete explanation of your question or issue.
-
- Check the form, and when you are satisfied that you provided all the details needed, then click the
 button.
You are done! You will receive an automated email within minutes and a Support Agent will contact you in less than a day. If you do not receive the automated email, check your Junk or Spam email folder. If a Support Agent has not contacted you within 24 hours, contact FARO Support.
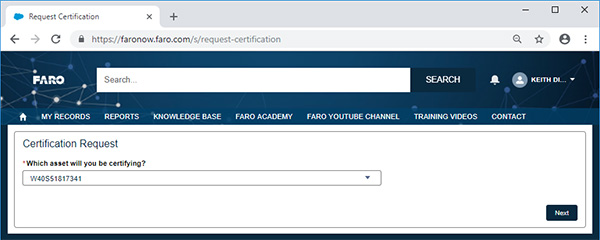
Certification Request
Certification requests are quick and easy to create using the FARO Portal.
- On the homepage click on Certification Request.
- From the drop-down box, select the asset you would like to have certified and then click Next.
- FARONow! will now retrieve your asset's current warranty status:

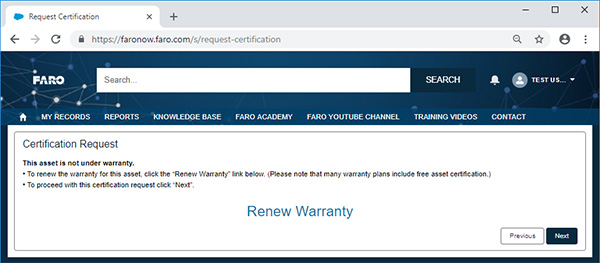
- Warranty Active: Will list your current warranty plan, expiration date and the last time this asset was certified. Click Next to continue.
- Warranty Expired: If your warranty has expired, you can renew your assets warranty by clicking the Renew Warranty link. Many warranty plans include free asset certification. Else you can continue with the certification request by clicking Next.
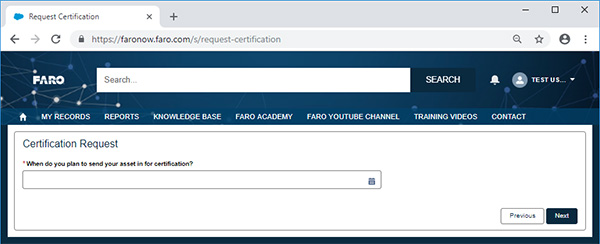
- On the next screen, select the date you plan on shipping the asset to FARO and click Next.
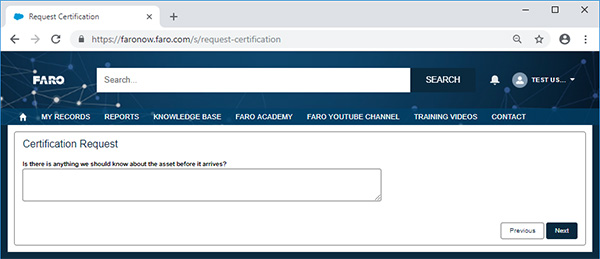
- Provide any pertinent information about the asset or special instructions and click Next.
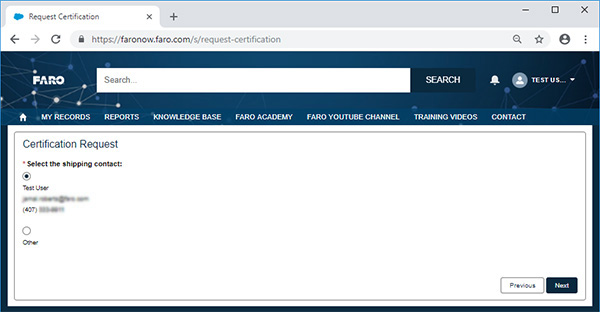
- Confirm/Select the Shipping Contact and then on the next screen select the Return Address.

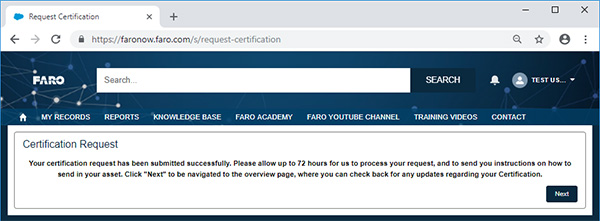
- Your certification request has now been submitted! Allow up to 72 hours to process the request. Click Next to view the case summary and status.
- You can track the process of your certification or any RMA, for more information see section: Tracking an RMA
Tracking Your RMA
FARONow! has an intuitive status tracker/progress bar for any RMA submitted. Simply view the details of any RMA Case and the progress bar (located on the top of the page) will give you its current status.
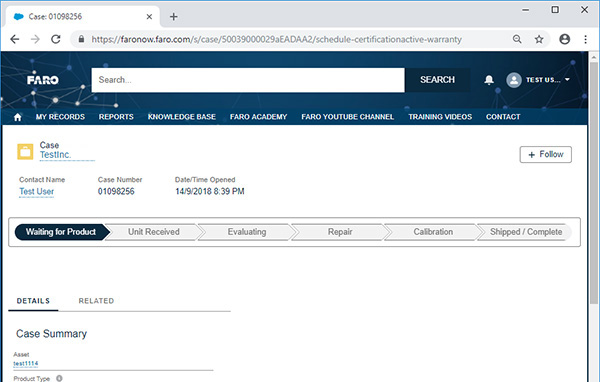
Status definitions are as follows:
- Waiting for Product: FARO is currently awaiting arrival of your unit.
- Unit Received: FARO has received your unit and is awaiting evaluation by the service department.
- Evaluating: FARO service experts are currently evaluating the unit and case notes.
- Repair: If repairs are needed, they will be performed at this stage.
- Calibration: Unit is currently in the calibration/certification phase.
- Shipped / Complete: All repairs/calibrations are complete. Tracking information will appear under the "Return Shipping Address" section of the case page.
There are three special statuses that might appear depending on your particular case.
- Processing: Request for repair/certification has been received by FARO. Allow up to 72 hours to process the request.
- Waiting for Customer PO: For services not covered under warranty a PO will be required. If you have not received a quote, contact FARO Support.
- Waiting for Pickup: In the event you are picking up your unit from a FARO service location, you should receive a separate email outlining pickup times and procedures.
Reports
To view the available reports, click on REPORTS on the main navigation bar.

The main Report screen is displayed,
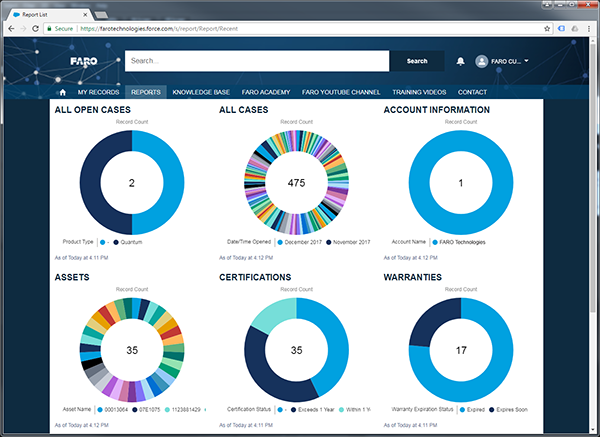
Click on any one of the reports to view, then click on the View Report button to view the report details in tabular format.
See Also
- Warranty Plan Benefits for the FARO Software Warranty
- Self-Help Resources - Web Sites, Videos, Product Help, Web Help, Blogs, and Customer Support Portal
- FARO Global Technical Support and Hours of Availability
- Global Contact Information for FARO Sales Agents - for Demos or Quotes or Warranty Renewals
Keywords
assets, serial number, account, online support, frequently asked questions, manuals, videos, and self help, find license key, find product key