Battery Charging Procedure using the PowerDock-ACCSS6002 and the Focus3D
Charging the Battery with the PowerDock
It is recommended to fully charge the battery before use and that a spare battery is kept on hand just in case it is needed during your scan project.
-
Connect the power supply unit cable to the power socket of the PowerDock. Confirm the direction of the power supply's plug (see attached picture). If you forcibly insert the plug in a wrong direction, the plug, the PowerDock's power socket as well as the PowerDock itself can be damaged.

-
Connect the AC power cable to the power supply as well as to a power outlet. Check the input voltage on the type label before connecting. LED 1 of the PowerDock should illuminate blue, which means that power is connected to the PowerDock.
NOTE: To avoid electrical shock, outdoor use of the power supply unit and the PowerDock is not permitted. Use the PowerDock and the power supply unit in dry indoor environments only.
-
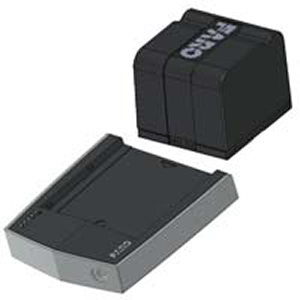
Point the battery's contacts to the PowerDock and place the battery flat along the arrow mark on the FARO PowerDock and slide it carefully into charging position until it snaps into place. Make sure that the battery's pins are in contact with the charger's terminals.
-
Charging starts automatically as soon as the battery has been inserted into the charger; LEDs 2 to 5 blink and illuminate according to the current charging state of the battery.
-
After charging, carefully slide the battery out of position and remove it.
See Also
Keywords: battery, charging, station, dock, led