Copy a 2D Floor Plan Scan Localizer Project to a Computer

Quick Steps
- The fastest way to learn how to setup a wireless connection between a your computer and the FARO® Scan Localizer is to watch a video tutorial in the Videos section.
- Locate the Scan Localizer project files and copy them to your computer.
See below for details.
Videos
Overview
Once a 2D Floor Plan Scan Localizer project has been saved to the Scan Localizer network, the project file can be copy to a desktop or laptop computer where you can use specialized software, such as FARO® Zone, to take measurements or augment the visual floor plan with pictures, icons, notes, or instructions. FARO Zone is fully compatible with the Scan Localizer and can directly open its native file format.
To copy the 2D project file, setup a wireless connection between a your computer and the FARO® Scan Localizer. You connect your computer to the Scan Localizer wireless network the same way you would connect to any other wireless network. Use the computer's network sharing or network setup to find the Scan Localizer network and connect. Then copy the project folder from the network to the computer.
Prepare
| Time to Complete | 15 minutes. |
| Skills Needed |
|
| Prerequisites |
|
| Supported Hardware | Scan Localizer with the most recent firmware installed |
| Supported Software |
|
Connect the Computer to the Scan Localizer
- On the Scan Localizer, press and hold the power button until it blinks blue a few times. This activates its wireless network.
- On the computer you want to connect to the Scan Localizer, go to where you set network wireless connections.
- In the available network list, select the network name beginning with LSL.
- Enter this password: 0123456789.
- Select the network type if applicable. If using the Mac OS or Microsoft Windows 10, skip this step. If Microsoft Windows 7 select Public Network.
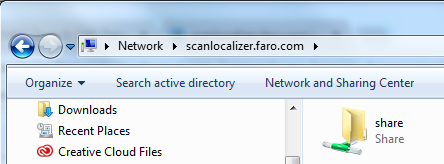
- Open the File Manager and enter \\scanlocalizer.faro.com in the address bar. Alternatively you can enter 192.168.101.2/control.
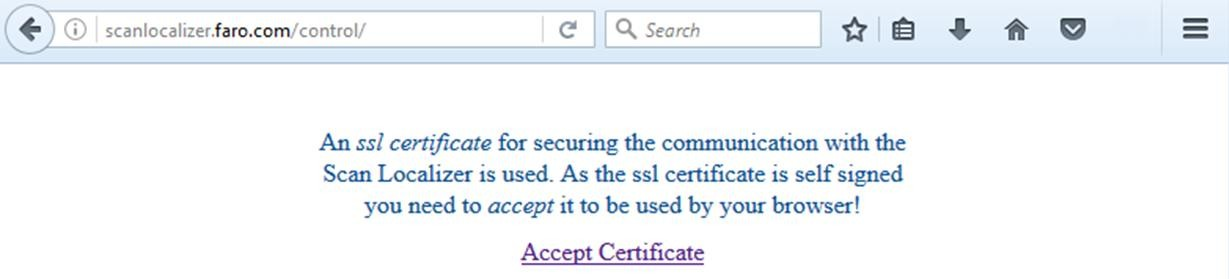
- The first time you make the connection, a request to accept an SSL certificate may appear. The steps to accept the certificate vary depending your computing environment. Generally, click Accept Certificate.
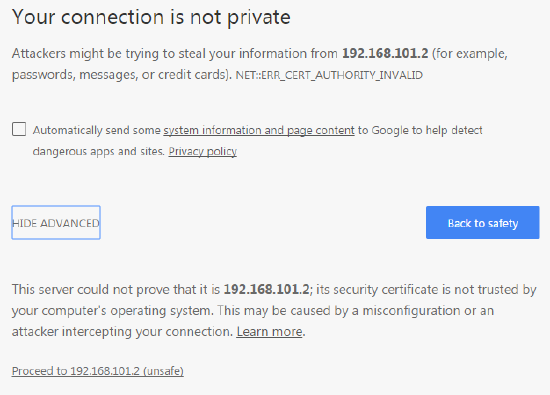
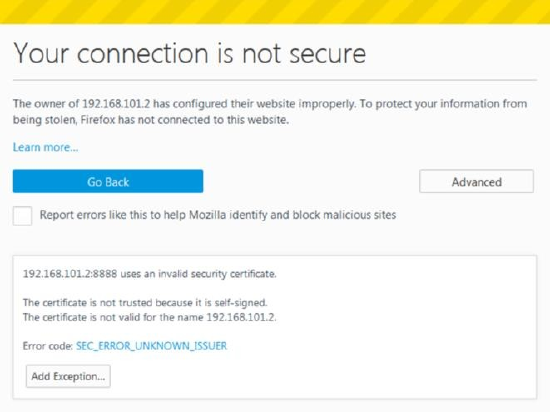
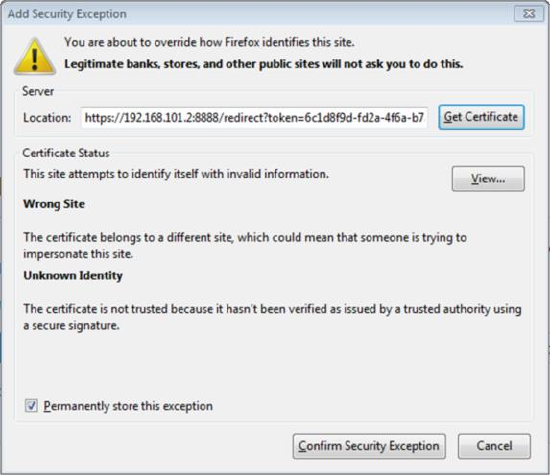
- If you get a Security Alert, the steps to clear this also vary. You may have to click Proceed to 192.168.101.2 Unsafe, then click Advanced > Add Exception, and finally click Confirm Security Exception or something like this. If you have have questions about this, contact your IT administrator.
- If a login request appears, use the standard user name and password for your computer.
- The Scan Localizer Network folder appears in the File Manager.
Copy the Scan Files to a Computer
- In the File Manager, double-click the Share network folder. This is where the Scan Localizer stores the 2D project files on its network.
- Navigate to the folder named for the Scan Localizer 2D project you want to copy to your computer.
- On your keyboard, press Ctrl + C to copy the folder.
- On your computer create a folder where you want to store the 2D project file and open it.
- On the keyboard, press Ctrl+ V to paste the copied 2D project file folder. Depending on how big the Scan Localizer project file is, this may take a while.
Once the 2D project folder appears, you are ready to open the project file and work with it.
Keywords:
download ScanLocalizer files, point cloud, gps, floor plan