Send-To-Revit App Installation into As-Built Modeler for Windows 7/8

The download and installation of As-Built Modeler is included during the setup routine of As-Built for Revit 2019.2 and later. However, with older operating systems like Windows 7 and 8.1 the installation process forces a re-start before the entire setup is completed. This prevents the installation of the the "Send-to-Revit" App. To prevent his from occurring please install the software in the sequence listed below.
Note: Before proceeding, save any open files and close all unnecessary programs.
- Install As-Built Modeler.
- After the install is complete, restart Windows.
- Next, install As-Built for Revit. During the installation, the "Send-to-Revit" functionality is automatically registered with As-Built Modeler.
If you have already installed As-Built for Revit (and then installed As-Built Modeler), you can load/install the "Send-to-Revit" App manually.
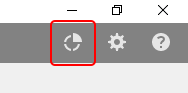
- Start As-Built Modeler. Click the app icon
 in the top right corner of the interface.
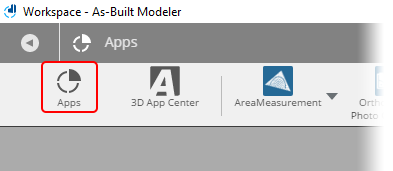
- Click the Apps icon to open the Apps Window.
- Click the Install button. Then navigate to the folder containing the app. You will find the SendToRevit.fpp file in the folder: C:\Program Files\FARO\As-Built {version number} for Revit\SendToRevitSceneApp.
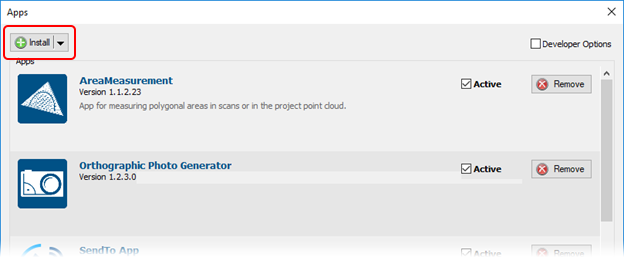
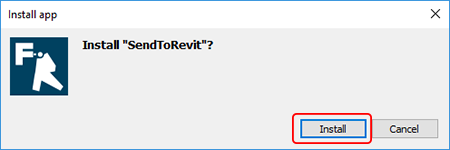
- When prompted click the Install button.
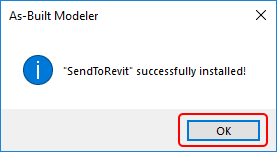
- As-Built Modeler will then confirm the installation. Click OK.
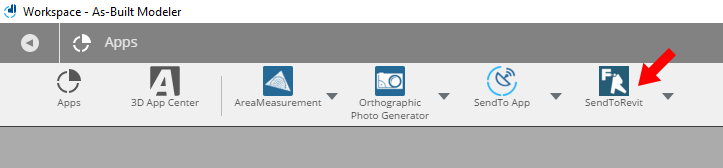
- Close any open dialog boxes. The "Send-to-Revit" App should now appear in the main App bar.