Open a 2D FARO Scan Localizer Project File in FARO Zone
Quick Steps
- Start FARO® Zone and open a FARO® Scan Localizer 2D project file.
- Click on the work grid to place the 2D floor plan scan image.
See below for details
Overview
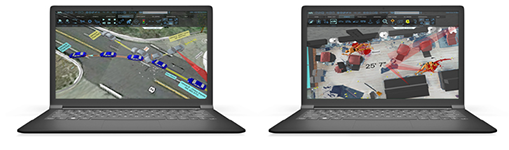
Once you have a Scan Localizer 2D project file on your computer, you can open it in FARO Zone to take measurements or make impactful floor plans augmented with pictures, icons, notes, instructions and more. FARO Zone directly supports opening native Scan Localizer 2D project files without exporting from the Scan Localizer or importing in FARO Zone. This article shows you how to open a 2D project file and place it on the FARO Zone work grid so you can work with it. To get in depth information and details about using FARO Zone features to augment 2D floor plans, see the Next Steps section below.
Prepare
Please review this table before you begin to ensure your success.
| Time to Complete | 10 minutes |
| Skills Needed |
|
| Prerequisites |
|
| Supported Software |
Details
- Open FARO Zone on your computer.
- Click the Home tab.
- Click the Folder icon and then click .L2D, the Scan Localizer file format.
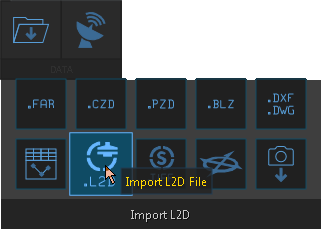
- Navigate to the folder where you store Scan Localizer project files and double-click the <ProjectName>.L2D file you want to work with. Look for this file icon
 .
. - The file opens, but the 2D floor plan scan image is not yet viable on the work grid.
- Move your cursor to where you want to place the scan image on the work grid and click there.
You can now see and work with the scan image on the work grid.
Next Steps
- Go to the FARO Academy to take free online video courses for FARO Zone or sign up for training.
- Download the User Manual for FARO Zone 3D for more details.
Keywords:
zone3d, fz3, fz2, fz advanced, fz