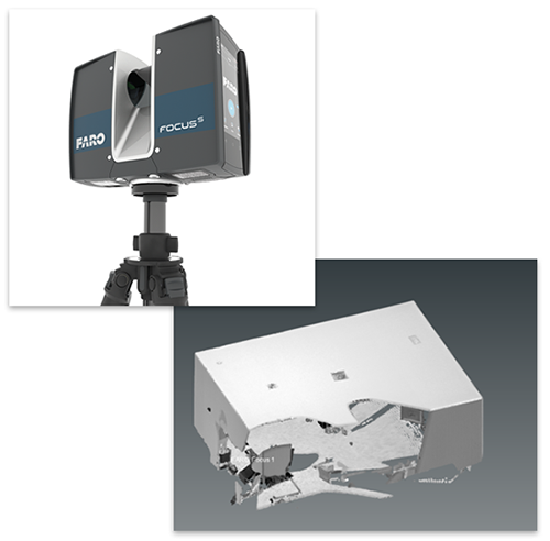
Direct Scan to BuildIT Construction using the Focus Laser Scanner
 Objective:
Using BuildIT Construction to scan with the FARO® Focus Laser Scanner.
You’ll learn:
- A simple workflow for scanning directly into BuildIT Construction with a FARO Focus.
Connect to the Focus
- A FocusS Laser Scanner will be used for this exercise.
- Turn the scanner on.
- Ensure that the remote access to scans is enabled on the scanner.
- Manage > General Settings > Remote Access to Scans.
- Using Windows, connect to the scanner’s Wifi network using the password for the scanner, which can be customized in the settings of the scanner.

Scan using FARO Focus
- Settings for the scanner must be configured on the scanner itself. These include project name, resolution, quality, and color. Be sure that you have selected the proper settings prior to using the BuildIT Construction commands discussed below.
- To scan with the Focus Laser Scanner, we can use the “Scan using FARO Focus” command.
- Place the scanner in the area to scan and ensure that it is level.
- Select “Scan using FARO Focus”
- Enter the IP for the scanner. With default settings, this should be 192.168.43.1.
- Select a destination to save the files.
- Select “Apply”.

- The software will then trigger the Focus Laser Scanner to scan, retrieve the file, and process it.
Note: If you receive a "shared folder access error" during this process, please see the following article: Scan using FARO Focus Error with BuildIT Construction

Note: This command can trigger scans with multiple scanners at one time. Once all scanners have completed their scan, the data will transfer and register automatically. This is highly useful with automation applications.
Recap:
Congratulations, you have completed the Scan with the Focus Laser Scanner module! By now you should have a grasp of how to:
- A simple workflow for scanning directly into BuildIT Construction with a FARO Focus.

