Colorize Scans Using Panoramic Images

Overview
Use the steps below to apply color information from a panoramic picture to a single scan in SCENE.
Note: Use high-resolution 360° panoramic images whenever possible to ensure the highest quality colorization.
Details
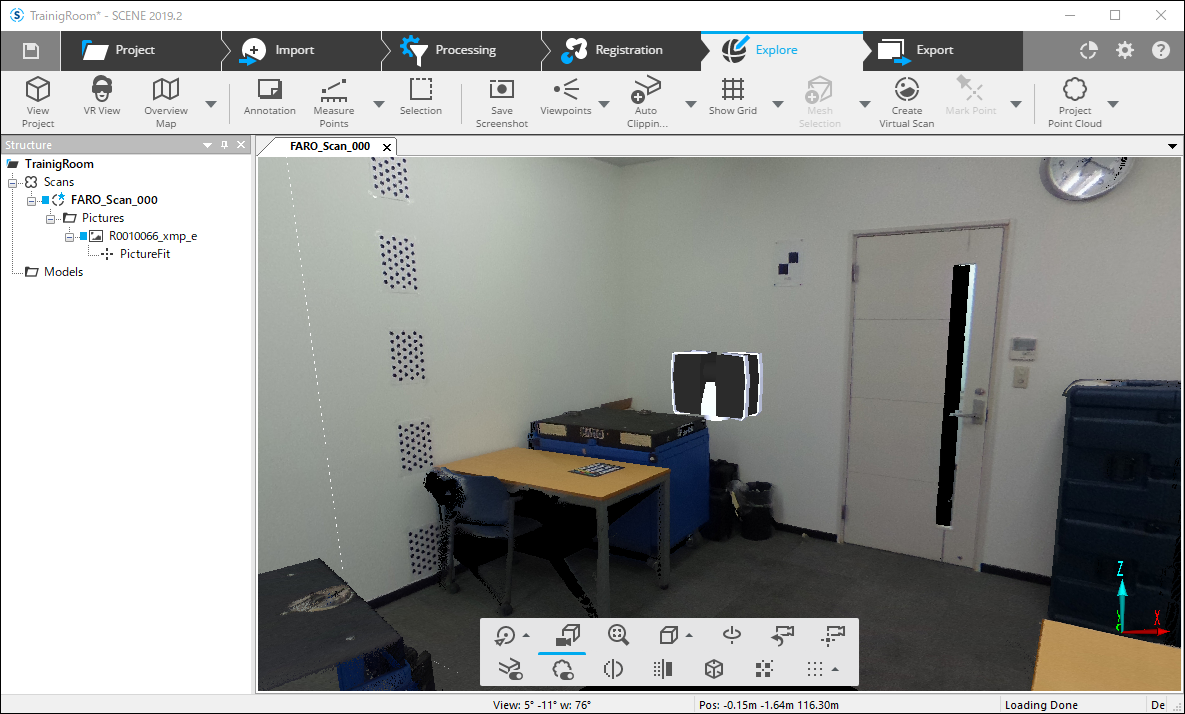
- Import a single scan into the SCENE structure view.
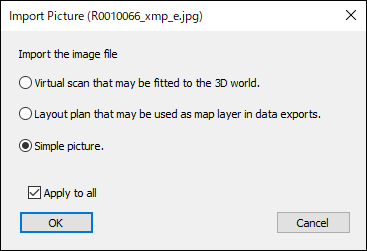
- Drag and drop a panoramic picture to the SCENE structure view, and select Simple picture in the dialog box.
- Click OK.
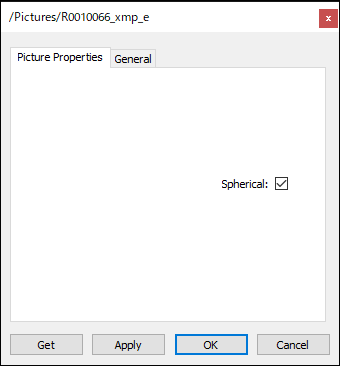
- Right-click the image in the structure view to open the properties box.
- In the Picture Properties tab, check Spherical. Click Apply and OK.
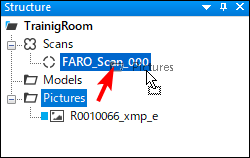
- Drag the Pictures folder to the scan point in structure view.
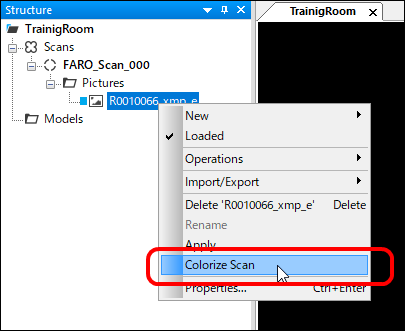
- Right-click the image and select Colorize Scan. The Colorize Scan dialog box will appear when data loading is done.
Selecting Data Points
- When the Colorize Scan dialog box appears, click View.
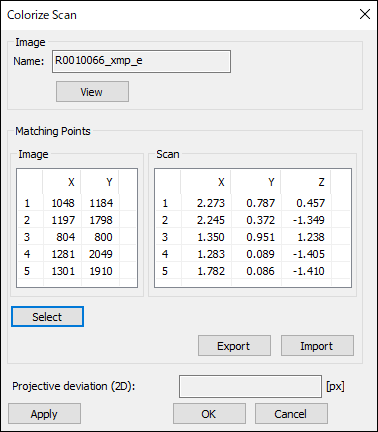
- Click Select to find the pairs of matching points in the Planar View of the scan and the panoramic image.
- Select at least six pairs of matching points.
Note: You can select the points in any order you want. You can select six points in one view and then the six matching points in the other view. You can select the point’s pair-by-pair, changing back-and-forth between views.
Modifying Selected Points
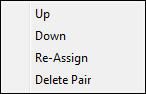
If you want to modify the selection, you can change the sequence of the points, re-assign it, or delete a pair. Simply right-click the point in the corresponding table of the Colorize Scan dialog. and select the appropriate command.
Note: Make sure to cover all three dimensions. The points should not lay more or less on a plane, but should span a box with reasonable length, width, and depth. It’s always good to have some redundancy and to select more than 6 pairs.
Applying Colorization
- When all point-pairs have been selected in the Colorize Scan dialog box, click Apply or OK. SCENE will calculate the position, orientation, and zoom factor and add the color information to each scan point.
Note: The already opened Planar View of the scan will not change. You will have to open a new view to see the scan in color. - The Colorize Scan dialog will display information about the quality of the projection by calculating the mean distance between the 2D projection of the selected 3D points and the corresponding points that have been selected in the picture. This distance is called Projective deviation (2D) and is measured in pixels.
- If you are not satisfied with the results, you can adjust some of the selected points and try again. You can also export the list of selected points for later use.