Convert a ScanPlan Project into a 3D Drawing in FARO Zone 3D

Overview
The ScanPlan 2D scanner is a quick and easy way to map the floorplan of a building. When finished, you can import these files into FARO Zone 3D and turn them into 3D drawings.
Importing a ScanPlan File into FAROZone 3D
- Start FARO Zone 3D on your PC.
- Insert the USB drive with a ScanPlan project into your PC.
- FARO Zone 3D will automatically detect the file and open an import window.
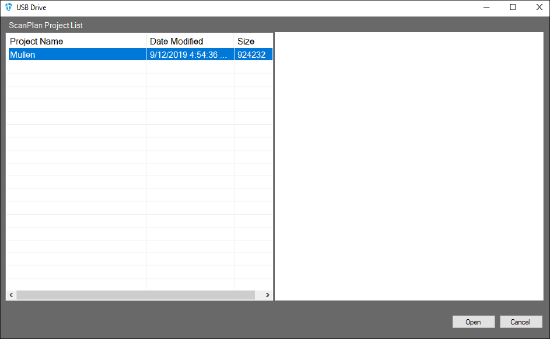
- Select the project to import and click Open.
Import a ScanPlan Project from a PC Directory
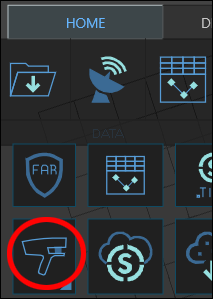
- Click the Import icon on the Home ribbon.

- Click the ScanPlan icon.
- Select the project file.
- Click Open.
Orienting the FloorPlan
- Click CTRL-A or type SA to select the entire ScanPlan drawing.
- Use the grips to move the drawing, and the red dot to rotate it.
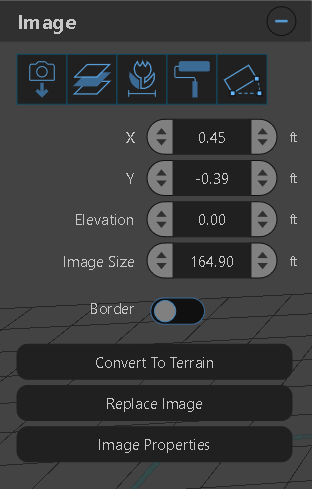
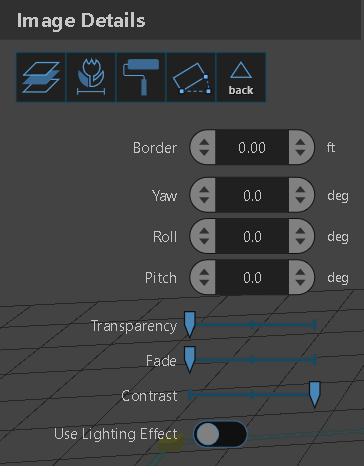
- For more precision, enter X,Y, and Elevation coordinates in the Image window and rotate the image with the Image Details window.
Showing/Hiding Drawing Layers
ScanPlan projects are imported in three layers. To show or hide the layers, click the Layer icon on the Home ribbon. 
The Layer window will display all of the FAROZone 3D project's layers.
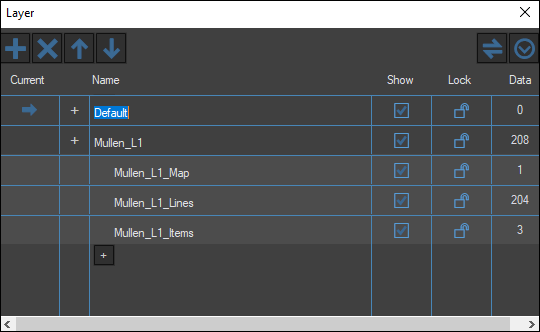
Uncheck the Show box next to a layer to hide it.
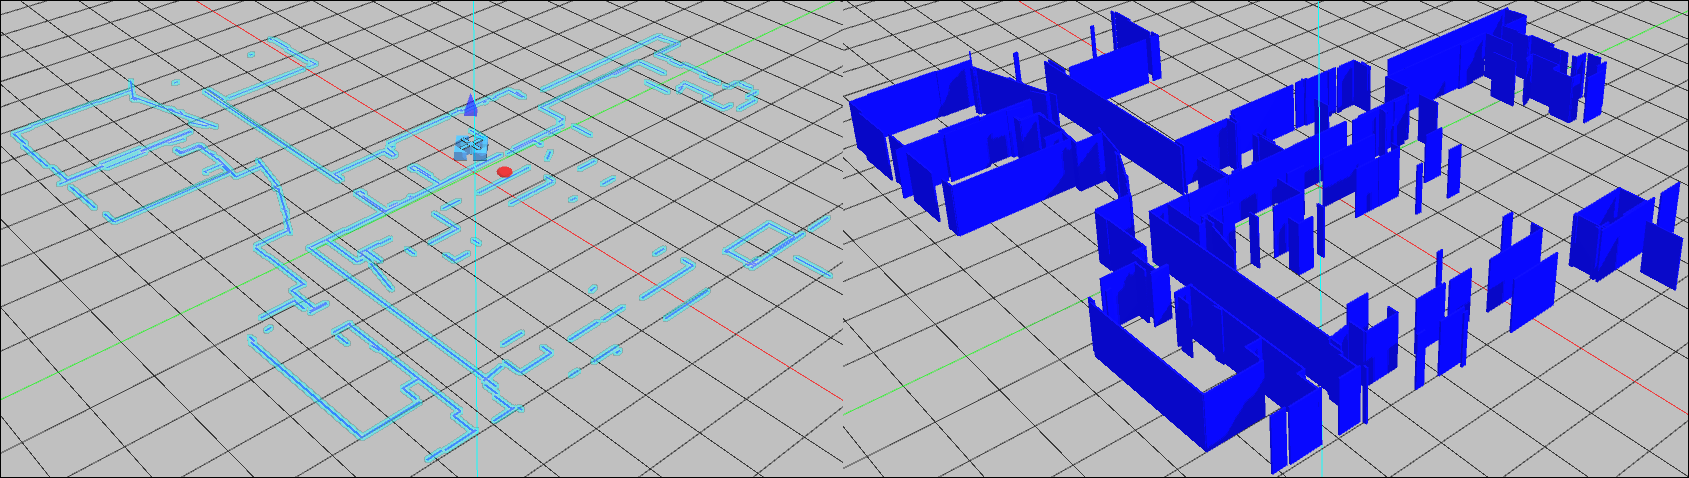
Automatically Create 3D Walls
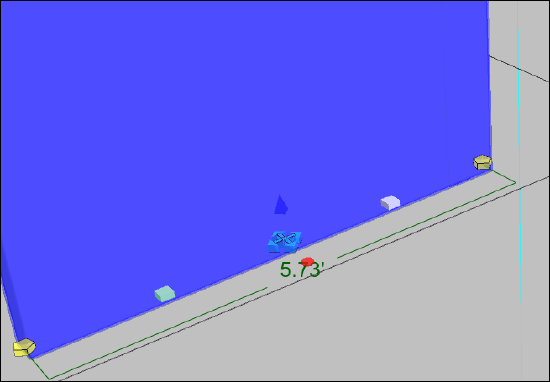
You can automatically turn a ScanPlan floorplan into a 3D drawing by converting its lines to walls.
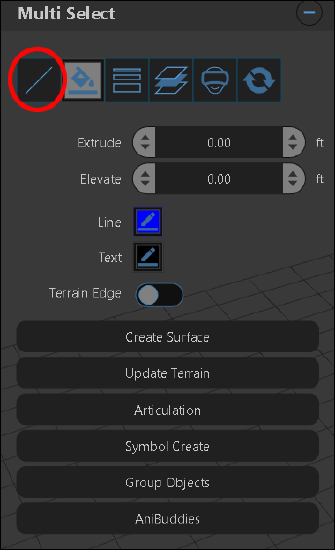
- Type SA or press CTRL-A to select the entire drawing.
- Click the Line icon in the Multi Select window.
- Click the Wall icon in the Line Type window.
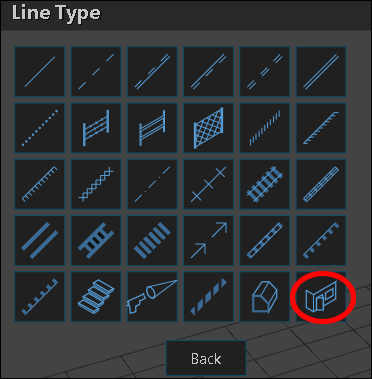
- The 2D lines will be extended into walls.
Adjusting Wall Segments
You can further adjust the floorplan to close wall gaps or remove extraneous walls.
To delete a wall segment. Click the segment and press Delete.
To extend a wall segment, click the segment.
Use the yellow grips to move the end of the segment. Use the squares to change ONLY the wall segment length.
Manually Create 3D Walls
For elaborate floorplans may be easier to manually draw walls.
- Click the Cursor Align icon
 in the Home ribbon or the Draw/Edit ribbon.
 - Left-click to add line segments, using the red alignment bar to verify positioning.
Note: Right-click and hold to adjust the camera, and use the mousewheel to zoom in and out while drawing walls. - When finished, click CTRL-A or type SA to select all of the lines.
- Click the Line icon in the Multi-select window.
-
Click the Wall icon in the Line Type window.
The 2D lines will be extended into walls.