Creating Vehicles With Multiple Damage Zones
Overview
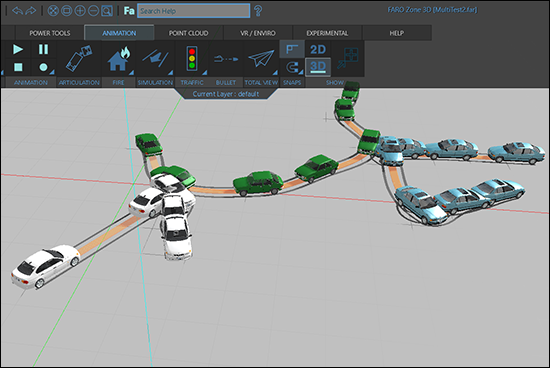
Sometimes an animation will require adding multiple impacts to one vehicle symbol. This can be accomplished by using the damage tool to apply damage zones at multiple Key Event Points (KEPs).
Details
- Create your vehicle animations and sync the impact points. Refer to this article if necessary.

- Click the vehicle symbol KEP at the first impact point and press the Damage icon in the Animation Path KEP window.

The Damage Window
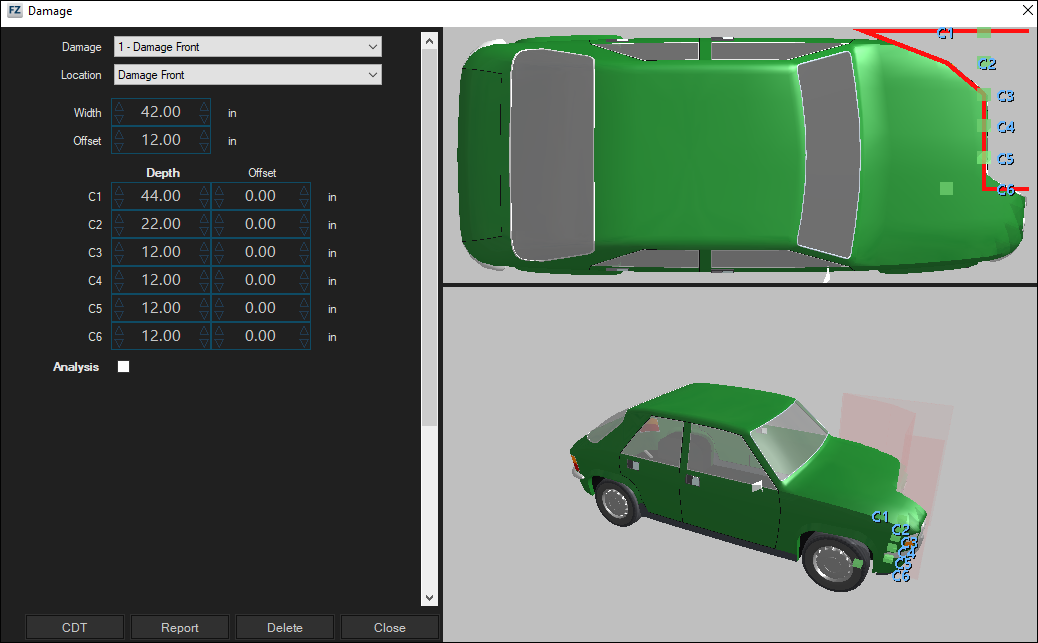
Use the damage window fields to customize the appearance of vehicle damage. You can change the damage zone values at any time by clicking the KEP again and pressing the damage icon.

- Location - Select the side of the vehicle that is damaged.
- Width - Change the width of the impact zone.
- Offset - Move the impact zone along the selected side.
- C1-C6 - Use the Depth and Offset values for the six impact zone points to customize the look of the damage zone.
Note: Vehicle damage is only visible while playing the animation or by clicking the KEP where the damage zone values were initially applied.
Adding Additional Damage
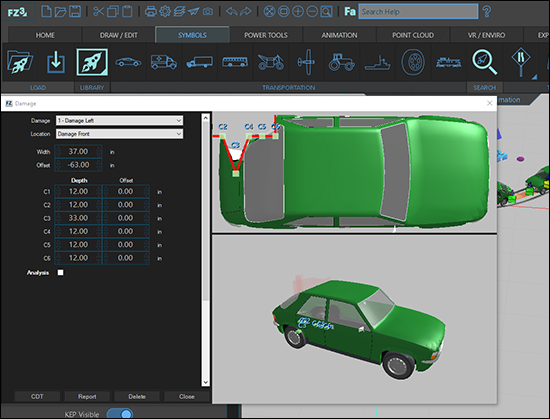
To add damage from a second impact, you will have to create a second KEP. You can not create damage on more than one vehicle side at the same KEP.
- Click the second KEP and select the Damage icon in the Animation Path KEP window.
Note: The initial damage will not appear in the damage window. - Click the Location menu and select a different side of the vehicle symbol.
- If the second damage occurs on the same side of the initial damage, you can manually enter the values from the first KEP and further refine the damage zone.
- Apply the additional damage values.

Note: You will only be able to see both damaged zones while viewing the animation.


