Installation Procedure for FARO HD
Quick Steps
- Download and save the FARO® HD software.
- Install the software.
Overview
It is quick and easy to install FARO software. You can even install using your native language. The installation process is the same if this is the first time you are installing FARO software or if you are upgrading an existing installation.
Prepare
| Time to Complete | 20 minutes |
| Skills Needed |
|
| Prerequisites |
|
| Supported Hardware |
|
Install the Software
- In the folder where you saved the downloaded software, double-click the software .exe file.
- A security warning will pop up. Click Run on this window.
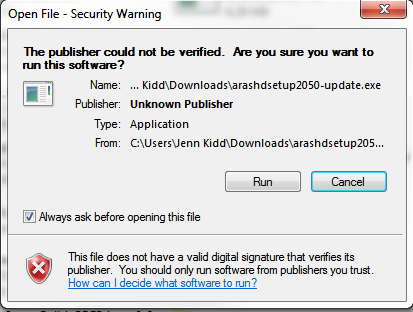
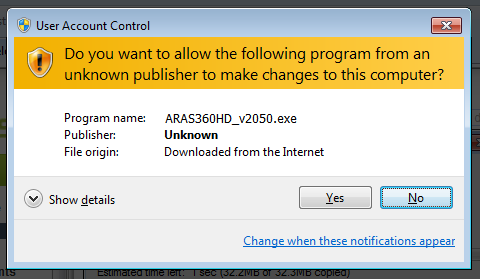
- If another security warning appears, click Yes on this window. Depending on your antivirus and security settings, this window might take a few minutes to appear.
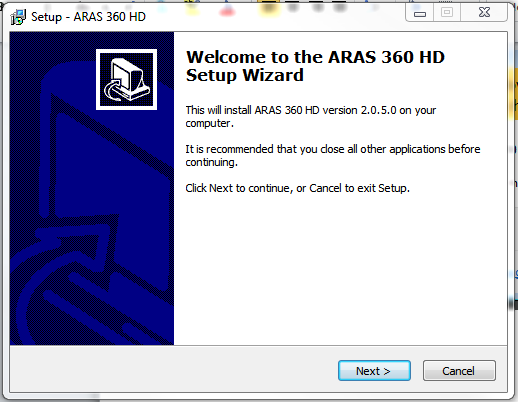
- Next you will see a series of installer screens. It’s best to let everything go to the default locations. Click Next and follow the prompts to install the software.
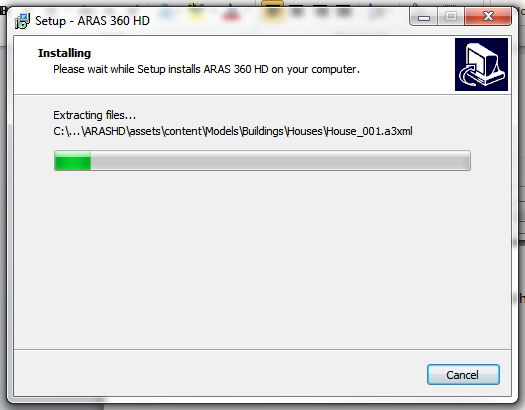
- After the install button is clicked the installer will begin installing the software.
- When finished with the main installation, click the checkbox to launch the Visual C++ Runtime installer and then click Finish.
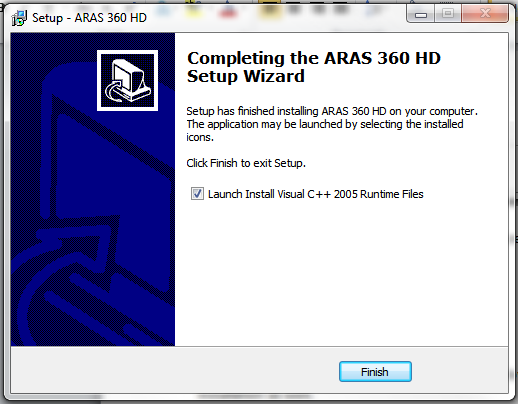
- At this point FARO-HD is ready to launch. Navigate to either the desktop icon or the Windows start menu entry for FARO-HD.
- If the software fails to start or you receive an error, you may need to run an additional installation. The required files are already present on your computer. To find the optional file, navigate to the following location on your computer.
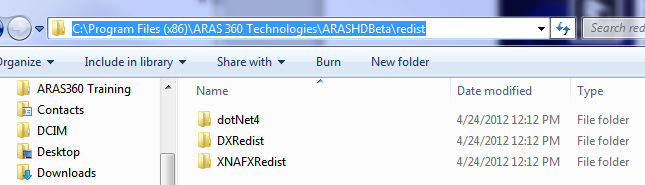
- In the “dotNet4” folder, double click the .exe file to launch the installer.

- After this installation completes, try starting FARO HD again.