Adding Panoramic Images to a Floor Plan
Overview
Once you have configured a compatible Ricoh Theta camera with your ScanPlan, you can easily add panoramic images to a project. The camera can be positioned strategically, and the images will be automatically added into the floor plan. These images will be viewable in SCENE2Go, WebshareCloud, Present4D, and FARO Zone 2D and 3D. (Note: ScanPlan scans are not compatible with the 32-bit version of FARO Zone 2D).
Details
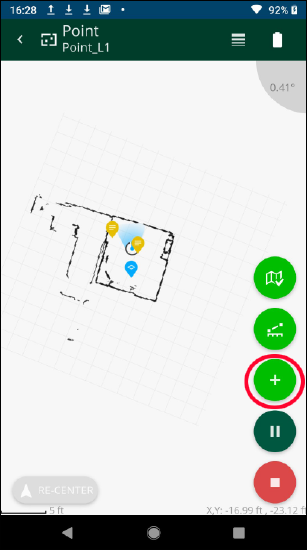
- Click the + icon.

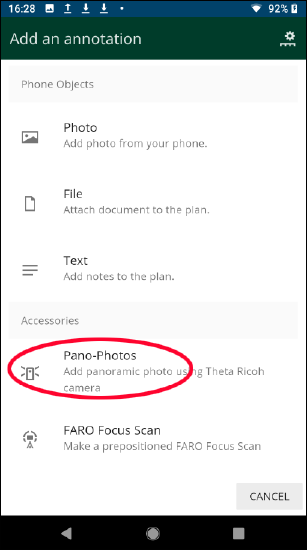
- Click Pano-Photos.

- Position the ScanPlan in front of the Ricoh Theta camera. Note: The ScanPlan should be directly in front of the camera's large front button.

- Click CONFIRM.

- With the camera's position confirmed, move to a position to ensure you’re not blocking anything or move into a different room.
- Click CONFIRM to take the picture.

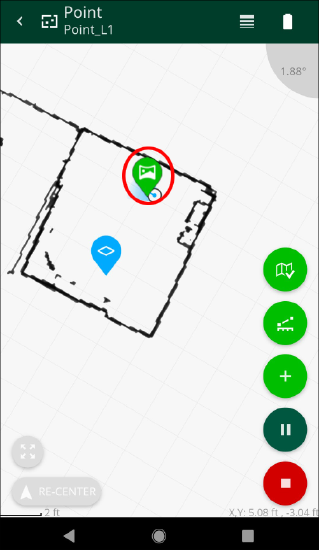
- Once the image has been captured, there will be a green icon placed into the view.


