Connect a Mobile Device to the Scan Localizer
Quick Steps
The fastest way to learn how to setup a wireless connection between a mobile device and the FARO® Scan Localizer is to watch a video tutorial in the Videos section. See below for details.
Videos
Overview
For convenience, use a mobile device to interact with the Scan Localizer while you move around in your interior space to scan it. You connect or pair your mobile device to the Scan Localizer wireless network the same way you would connect to any other wireless network. Use settings on your mobile device to find the Scan Localizer network and connect.
Prepare
Please review this table before you begin to ensure your success.
| Time to Complete | 15 minutes. |
| Skills Needed |
|
| Prerequisites |
|
| Supported Hardware |
Scan Localizer with the most recent firmware installed |
Details
- On the Scan Localizer, press and hold the power button until it blinks blue a few times. This activates its wireless network.
- On the device you want to connect to the Scan Localizer, go to where you set network wireless connections.
- In the available network list, select the network name beginning with LSL.
- Enter this password: 0123456789.
- Open a browser and enter scanlocalizer.faro.com in the address bar.
- The first time you make the connection, a request to accept an SSL certificate or a message saying Cannot Verify Server Identity may appear. The steps to accept the certificate or verify the server vary depending on which browser you are using. Generally you tap Accept Certificate or Continue.
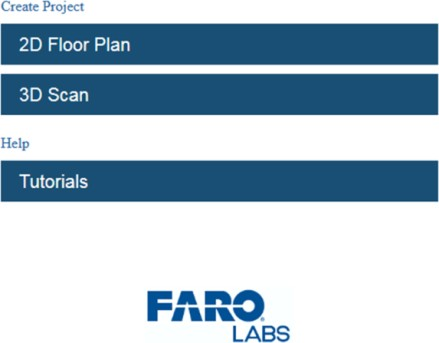
- Once you have successfully accepted a certificate or verified the server, the Scan Localizer Home page appears and your connection is complete.

Keywords:
point cloud, gps, floor plan

