Creating and Using a User Form Report Template in BuildIT Construction

Overview
One of the key features of BuildIT is the generation of extensive reports, including several layouts and formats. Therefore, if the user does not have any report templates already created, as recommended, the user may select from any of the default report schemes. However, in cases when the user has already a report (ex. Excel report) and needs to maintain the same report layout, the User Form report is a great tool that allows this. The BuildIT User Form currently supports Excel (*.xlsx) and PowerPoint (*.pptx) report formats. This article explains how to create and use a User Form report template.
Quick Steps
Detailed Steps
For the purpose of these instructions, "User Form (xlsx)" is used. If "User Form (pptx)" will be used instead, the instruction will be similar. If there is a difference in procedure, it will be specified for Excel and PowerPoint formats respectively.
Create a User Form Report
- Refer to your existing report, (which will be used as the template for future workflows), to identify all entities that are required to be included.
- Generate all entities that are required in your report (Ex.: Inspections, Annotations, Views, GD&T Features, Tolerances, etc.). You may obtain the entities by either:
- Option 1: Using a BuildIT file previously produced by going through the actual workflow. Make sure it contains all desired entities. If it doesn't, you may proceed to Option 2 using this file as your starting point.
- Option 2: Using Device Simulators in the Device Manager to simulate the workflow (for any measurement), generate the entities.
- Add the required entities to the report outline.
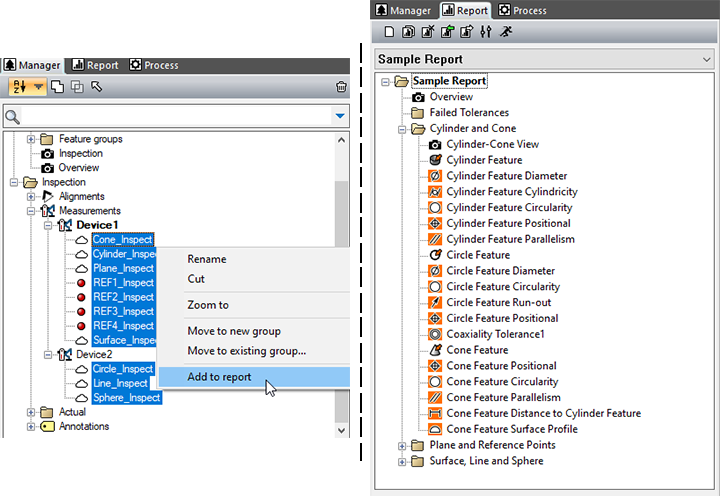
- Go to the "Manager" tab.
- Right-click on the needed elements and click "Add to report". Repeat until all needed elements are added to the report (you may verify the added elements on the "Report" tab).
- Make sure that the report format is "User Form (xlsx)".
- Go to the "Report" tab and click on "Report Settings"
 .
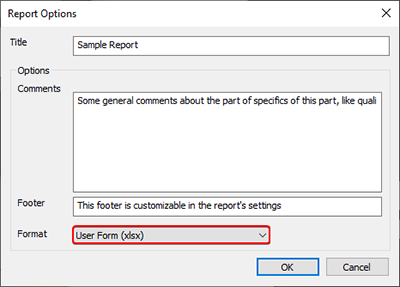
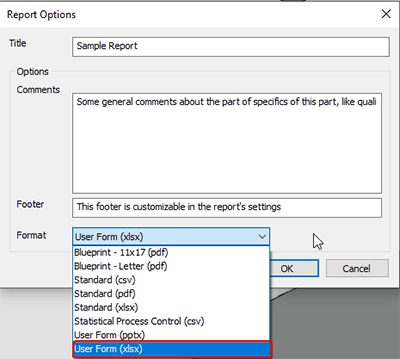
. - Change the Format to "User Form (xlsx)" and click OK.
- Go to the "Report" tab and click on "Report Settings"
- Generate the User Form report.
- Click on "Generate Report"
 .
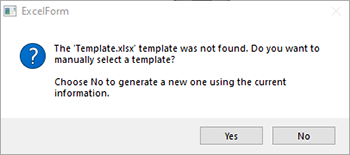
. - Save the file with any name (in any folder) that does not contain an existing file named "template", then click "No" on the following popup message.
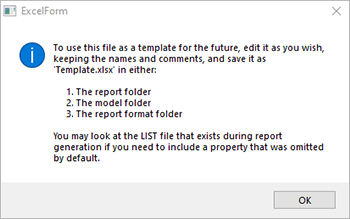
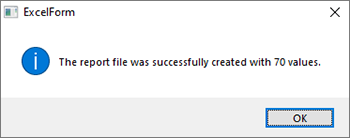
- If you are creating a new template, the following message should appear. Click "OK".
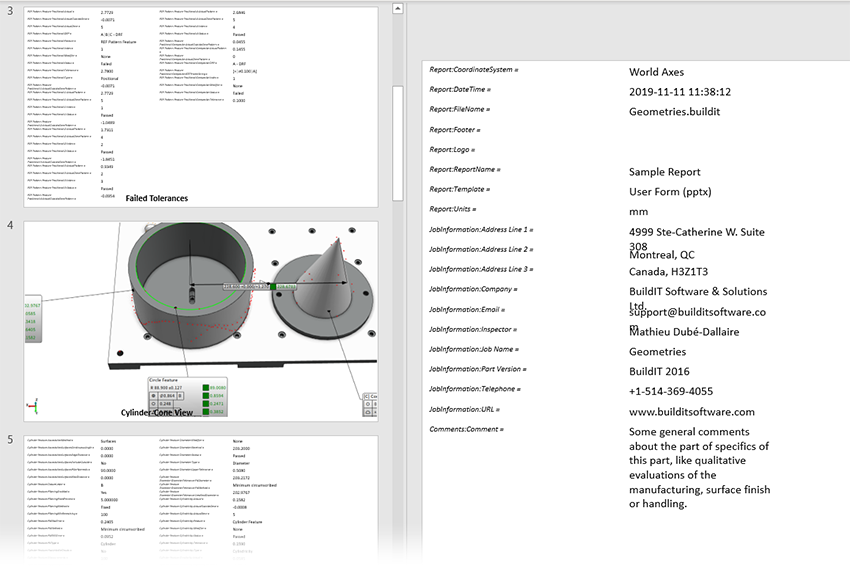
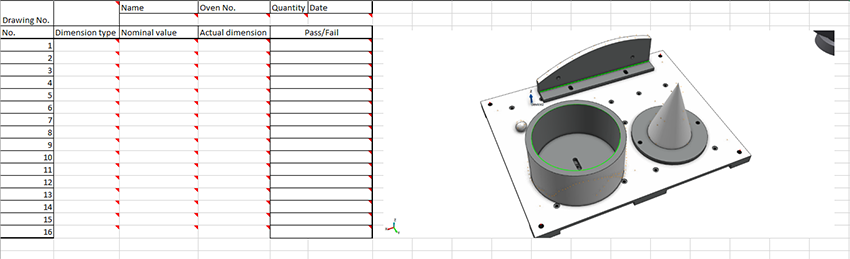
- A report will be generated with your selected entities and values. The report will appear as shown below (for Excel and PowerPoint, respectively) and will include screenshots of the project. See all the sheets/slides to view all the included entities and values.
Excel format:

PowerPoint format:
- Click on "Generate Report"
Modify your template with the information from the User Form Report
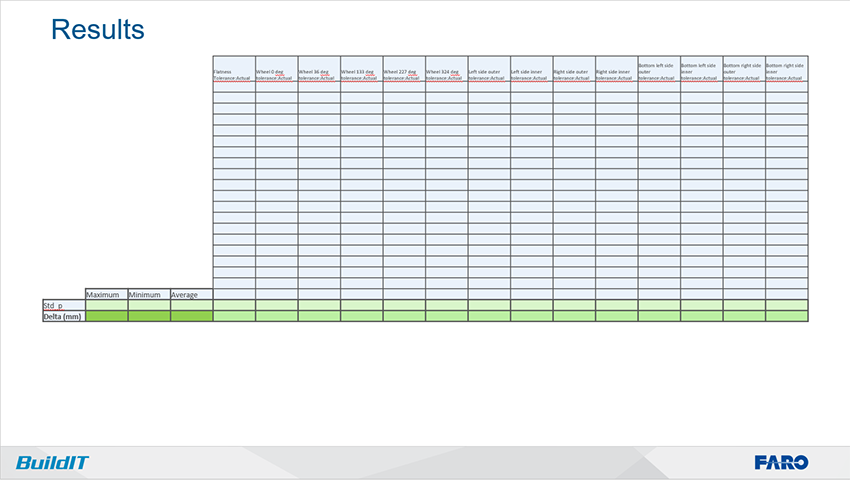
- Rename your template file to "template.xlsx". Below are examples of a pre-made report template (for Excel and PowerPoint, respectively).
Excel format:
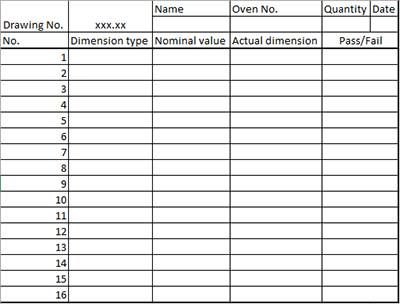
PowerPoint format:
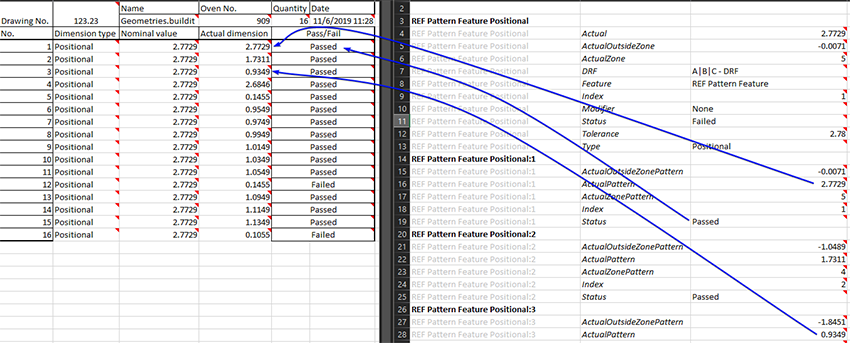
- Relocate the values from the User Form report to your template report.
- Cut and paste the values generated from the User Form report into the desired location of the template file. For the Excel format, cells with the red triangle in the upper right corner (macro) should be copied. For the PowerPoint format, text boxes and/or images should be copied.
- Make sure to delete the values from your template. For the Excel format, select the boxes with red triangles and press delete. This will keep the macro but remove the values. For the PowerPoint format, delete the content of text boxes only. The empty text box should be selectable. If the text box is not selectable after deleting the content, press CTRL+Z (undo). Save your template keeping the same name (see step 1).
- Locate the template file in either:
- Option 1: Same folder as the BuildIT model file. In this case, when the final reports are generated, they may be saved in any location.
- Option 2: Same folder as the reports generated by BuildIT will be saved. In this case, when the final reports are generated, they need to be saved in the same location as the template file.
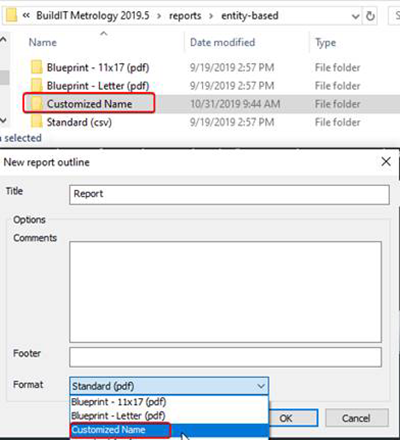
- Option 3: BuildIT report format folder "C:\Program Files\BuildIT\BuildIT profile 20xx.x\reports\entity-based\User Form.xlsx". In this case, you may access the template for generating the report with any model file. You may also change the name of the folder "User Form (xlsx)" to any name desired. This name will replace the name in the format list. You may save the generated report in any location.
- Cut and paste the values generated from the User Form report into the desired location of the template file. For the Excel format, cells with the red triangle in the upper right corner (macro) should be copied. For the PowerPoint format, text boxes and/or images should be copied.
Generate the report using the new template
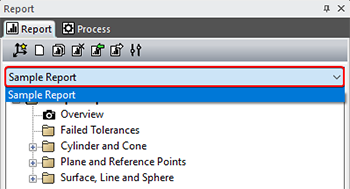
- Select the appropriate Report Outline in the "Report" tab. The report will be populated following the template file format.
- Make sure that the report format is "User Form (xlsx)" or the customized name format.
- Go to the "Report" tab, and click on "Report Settings" .
- Change the format to "User Form (xlsx)" or to the customized name format created (see Option 3 of step 2c. from Section "Modify your template with the information from the User Form report"), and click OK.
- Go to the "Report" tab, and click on "Report Settings"
- Generate the report.
- Click on "Generate Report" .
- Save the file with any name in the folder according to the chosen option (see step 2.c. from Section "Modify your template with the information from the User Form report").
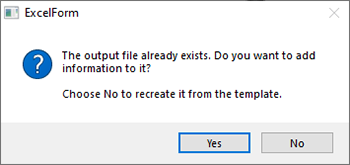
- If BuildIT finds the "template.xlsx" file, the message below should be displayed. You may click OK and the report will be generated automatically base on the "template.xlsx" file.
- If BuildIT did not find the "template.xlsx" file (typically because the report was not saved on the same location as the "template.xlsx" file), the following message will be displayed.

- Click Yes if the "template.xlsx" file exists. Browse and select the "template.xlsx" file and then click "Open". The report will be generated automatically based on the selected template file.
- Click No if the "template.xlsx" file does not exist. In this case, you might want to review section(s) "Create a User Form Report" and/or "Modify your template with the information from the User Form report".
- Click on "Generate Report"
Populate your Template with Multiple User Form Reports
If you need to fill up your template with different reports, you will need to generate multiple User Form reports with the respective needs.
This would be useful for (among others):
- Filling up a report with information referenced to more than one coordinate systems
- Filling up a report over time
- Filling up a report from various models or parts (i.e. various BuildIT files)
Note: Populating a template with multiple User Form reports will only be available in BuildIT version 2020 and later.
- Follow all steps from “Create a User Form Report” section as many User Form reports are needed to fill up your template with the required entities on each report outline. Make sure to generate each User Form report with the necessary changes done prior to generating it (i.e. change coordinate system, BuildIT file, etc.)
You may create a new outline for each User Form report needed within the same BuildIT file by clicking on the “Report” tab:- Option 1: “New Outline” command
 if different entities are needed. Then, add the required entities
 - Option 2: “Copy Outline” command
 if all or most entities are the same as a previous outline. Then, add additional entities if needed
- Option 1: “New Outline” command
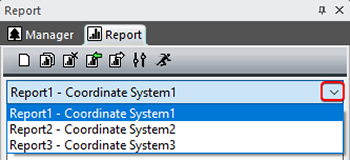
- Name each report outline according to its use (Ex. coordinate system) and select the appropriate User Form format by clicking the “Report Settings” command . You may switch from among the different outlines by clicking the scroll-down arrow of the “Report” tab.
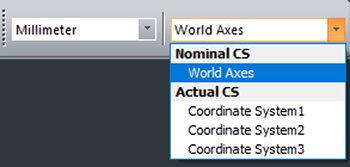
For example, if different coordinate systems are needed as reference for the same measurements, you may generate the same report outline with one coordinate system at a time to report the same entities with respect to each coordinate system. You may switch from among the different coordinate systems by clicking the scroll-down arrow of the “Units” toolbar.
- Follow all steps from “Modify your template with the information from the User Form Report” section by repeating its step 2.a. for each User Form report generated in previous step above. At the end of this step you would have a complete template at the desired location.
- Follow all steps from “Generate the report using the new template” section for each report outlines needed to fill your report. Each time you want to add information to a report, you need to save the report with the same name and location when generating a report. After each repetition do the following:
- When saving click Yes on the message popup shown below.
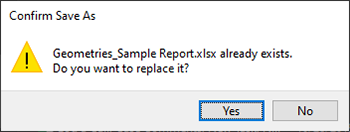
- Then, click Yes to add new information to the existing report.
- When saving click Yes on the message popup shown below.
FAQs
Once I generate the User Form report, the report is not created and BuildIT gives the following error message “Unable to generate report file” or it simple does nothing. What should I do?
To let BuildIT Support understand the issue and help you, you will need to repeat the generation of the User Form Report with the report debug option turned on. This option will allow creating the User Form report with Excel/PowerPoint visible and generate an additional log file. To turn this option on, follow the instructions below,
-
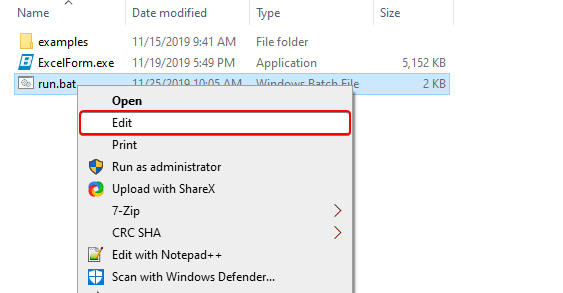
Open “C:\Program Files\BuildIT\BuildIT VERSION 20xx.x\reports\entity-based\User Form (xlsx)”
-
Right-click on “run.bat” and select “Edit”
-
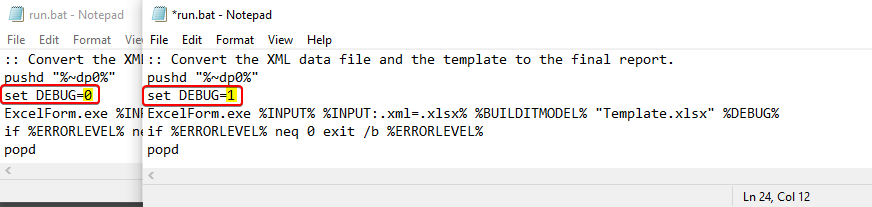
Change the value of “set DEBUG=0” to “set DEBUG=1” and save.
-
Try generating the User Form report again through BuildIT
-
Take a screenshot of any error message generated on Excel/PowerPoint and on BuildIT and save them.
-
Open the folder where you were saving the report and find the file “*.log” that was just generated.
-
-
Send the screenshots and the log file to BuildIT Support at support@builditsoftware.com
-
You may turn it off by following the same steps but changing the value back to “set DEBUG=0”