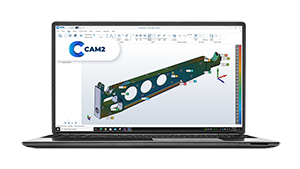
Create Custom Views in CAM2
Overview
Creating Views enables the user to save screen shots that can be recalled, and used to enhance reporting.
Download a PDF of this procedure:
Prepare View
- Orientate and zoom the CAD view as required
- Use visibility toggle to show / hide the required features (Select feature - Click
 )
) - Use label toggles to show/hide required labels and style (Select feature - Right Click)

Capture View
- From the Home ribbon, select Capture View
- The View panel will open in the bottom LH corner showing the saved views

- Repeat the above steps to create additional views.
Note: when a view is captured, all visibility and labeling settings are also saved to that view.
Review Views
- Select a View Data in the View panel and right click to show options
- User can:
- Recall view
- Rename view
- Delete view

Adding views to a Report
- Open Report workspace (click
 below Features panel)
 - Select Layout template from the Report ribbon
- Select Include Features
- From the Include Features window, select the View Data items, and select Add

- Views will be added to the report.

Note: it is possible to reorganize the order by ‘drag & drop’ in the Report panel.
See Also
Keywords:
Help Sheet, VW001

