Applying Laser Illuminated HDR to Scans
Overview
Conventional High Dynamic Range (HDR) images are created by merging several photographs that were taken at different exposures. FARO® Laser-HDR (L HDR) images combine a photograph of a scanned area with information about the amount of laser light that was reflected by surfaces during scanning. Because the laser provides the illumination, details in areas that are completely over or underexposed in the photograph can nevertheless be added to the L HDR image.
Details
- Open your scan project.
- Click the Processing tab and click Process Scans.

- Select the scans to reprocess with L HDR imaging and click Configure Processing.

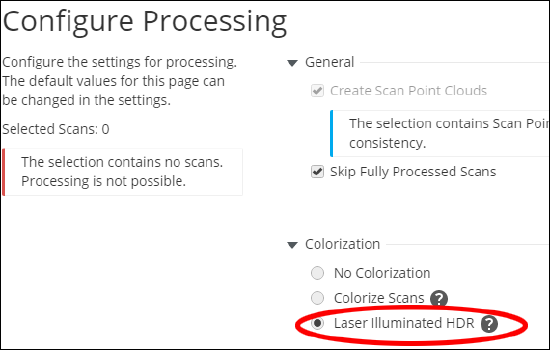
- On the Configure Processing screen, click Laser Illuminated HDR under the Colorization setting.

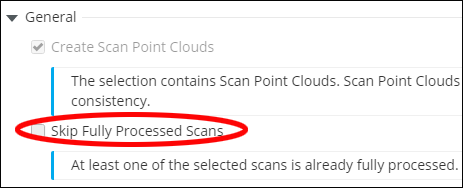
- If you are reprocessing older scans, you will have to uncheck Skip Fully Processed scans.

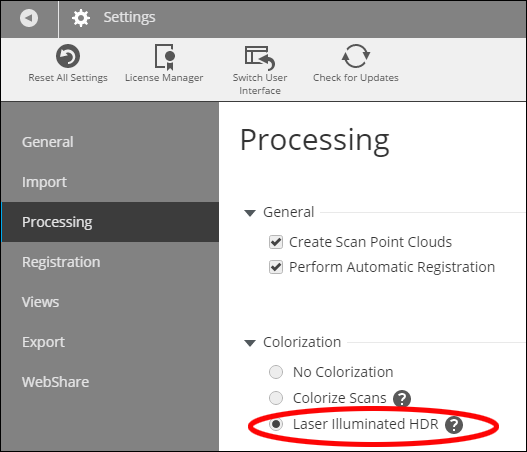
Note: When processing is complete, the L HDR image is visible in the Planar View and the Quick View modes. - To make L HDR the default processing setting go to Settings > Processing > Colorization.


