Align a Point Cloud with a ScanPlan Floorplan in FARO Zone 3D

Overview
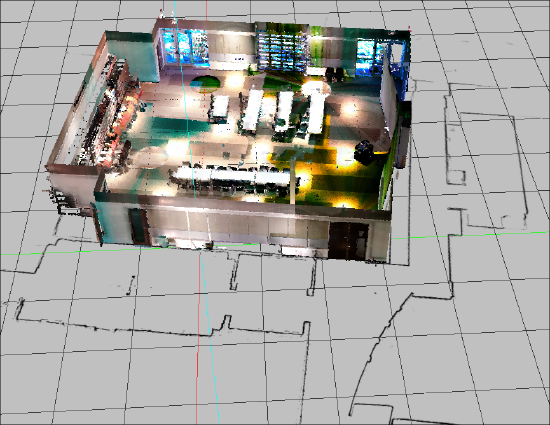
FARO Zone 3D Advanced/Pro/Expert allows you to integrate SCENE point clouds with ScanPlan floorplans. Use positioning tools to align both files on the drawing surface.
Orienting the ScanPlan FloorPlan
When you import a ScanPlan project, you can adjust its alignment with the drawing grid for ease of use.
- Click CTRL-A or type SA to select the entire ScanPlan drawing.
- Use the grips to move the drawing, and the red dot to rotate it.
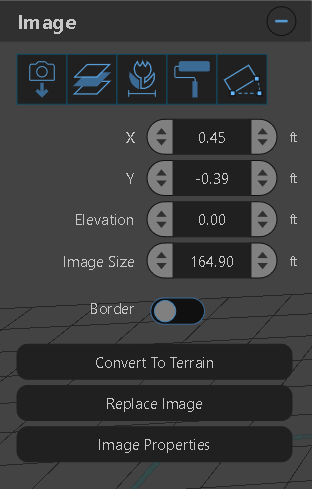
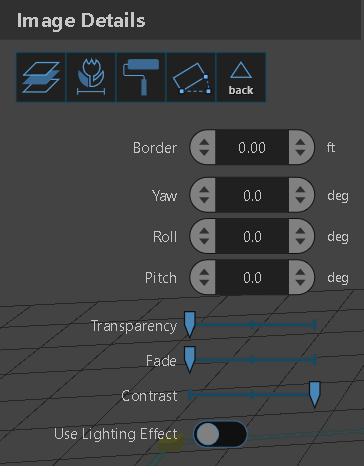
- For more precision, enter X,Y, and Elevation coordinates in the Image window and rotate the image with the Image Details window.
Import the Point Cloud
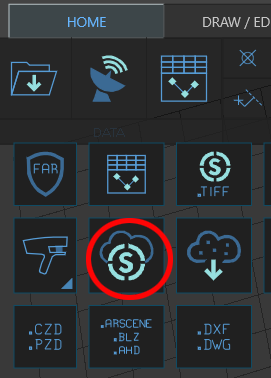
You can import SCENE projects directly into FARO Zone 3D Advanced from the Home or Point Cloud ribbons.
- Click the Home or Point Cloud ribbon.
- Click the Import SCENE Point Cloud icon.
- Choose the SCENE Project to import.
- Click Open.
Note: You can only import one point cloud into a FARO Zone 3D Advanced project.
Align With Two Points
Aligning the floorplan and pointcloud can be done using the Align tool. Click the Draw/Edit ribbon and click the Align icon  .
.
- Click the floorplan.
- Click two points on the floorplan.
- Click the corresponding points on the point cloud.
Fine-Tuning the Alignment
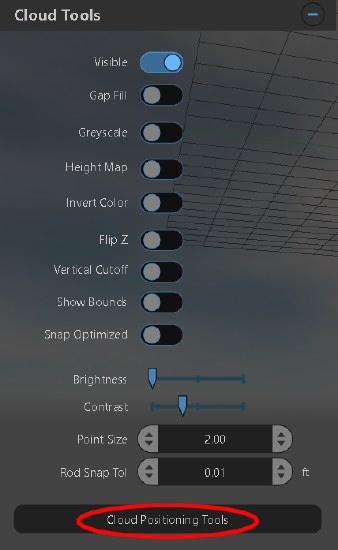
If your pointcloud isn't aligned with the Z-axis, or you wish to finely tune the alignment, you can use the point cloud positioning tools.
- Click Point Cloud tools icon
 from the Point Cloud ribbon.
 - Click Cloud Positioning Tools.
- Align the point cloud to the Z-axis with the pick point options.
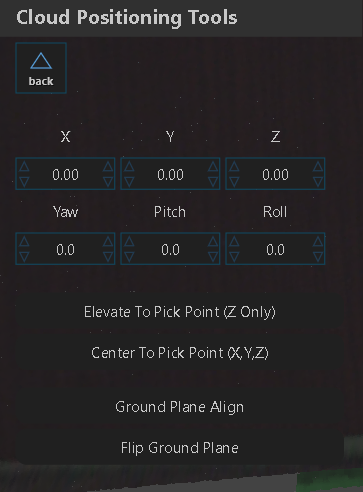
- Elevate To Pick Point (Z Only) - Aligns the point cloud at a chosen point to the Z-axis.
- Center To Pick Point (X,Y,Z,) - Aligns the point cloud at a chosen point to the center of the drawing area.
Additional Values
There are six values you can use to position the point cloud.
The X, Y, and Z values move the point cloud on the corresponding axis.
Yaw, Pitch, and Roll rotate the point cloud around an axis.