Exporting Point Cloud Data from Measure 10 and Importing into SolidWorks

Quick Steps
Here is all you have to do.
- Collect point cloud data and register it in Measure 10.
- Export the point cloud data from Measure 10 as a mesh in a .STL file.
- Open and save the .STL file in SolidWorks.
Overview
Point cloud data collected with a FARO ScanArm and LLP can be exported from Measure 10 and imported into SolidWorks. The export file format is .STL, which imports as easily as opening the .STL file in SolidWorks. Once the file is open, you can use the Mesh Prep Wizard to create an advanced 3D point cloud mesh.
Details
Start by collecting the point cloud data using the ScanArm and LLP, then register the point clouds as needed. The User Manuals for the FaroArm, ScanArm and Gage and Measure 10 User Manual show you how.
In Measure 10
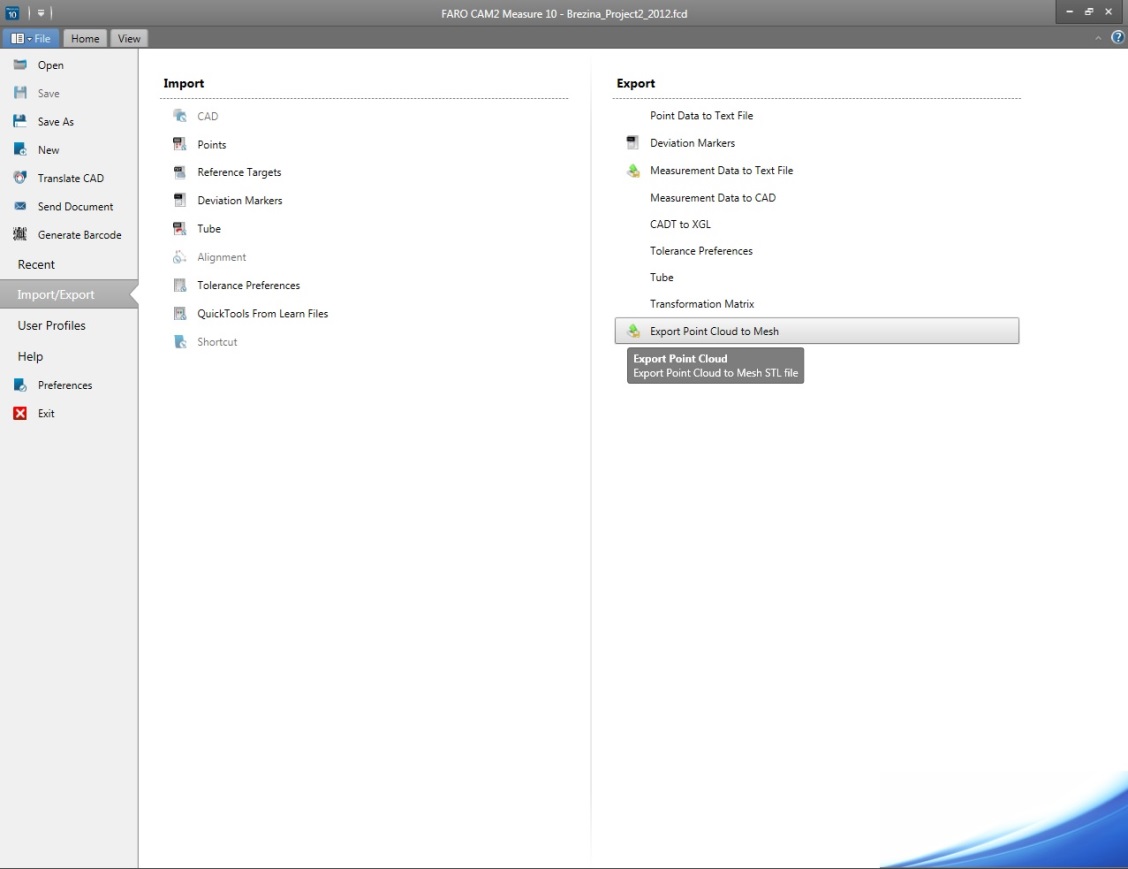
- Click File > Import/Export.
- In the Export section, click Export Point Cloud to Mesh.
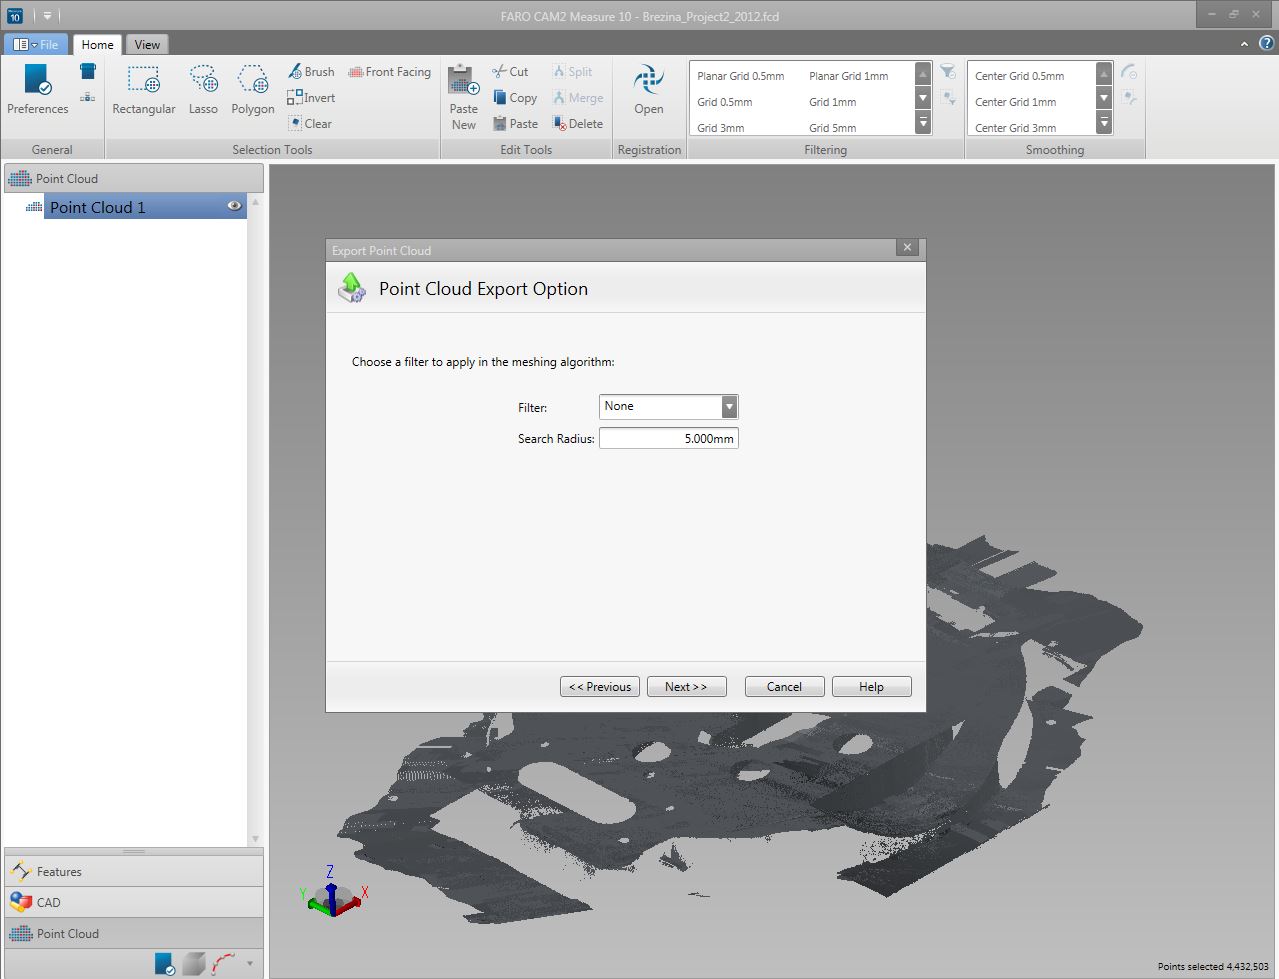
- Select the point clouds you want to export, and click Next.

- Apply filters if that is appropriate for your project. Specify where to save the exported file and click Finish. Exporting the file may take some time depending on how large the point cloud file size is.
In SolidWorks
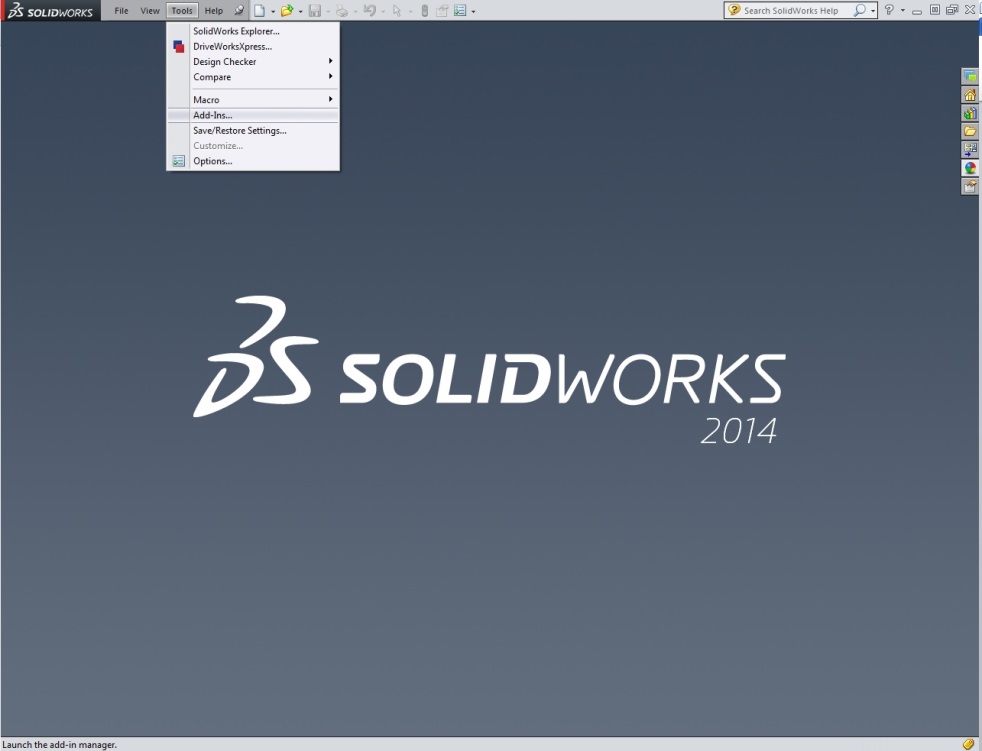
- Open SolidWorks and click Tools > Add-In.
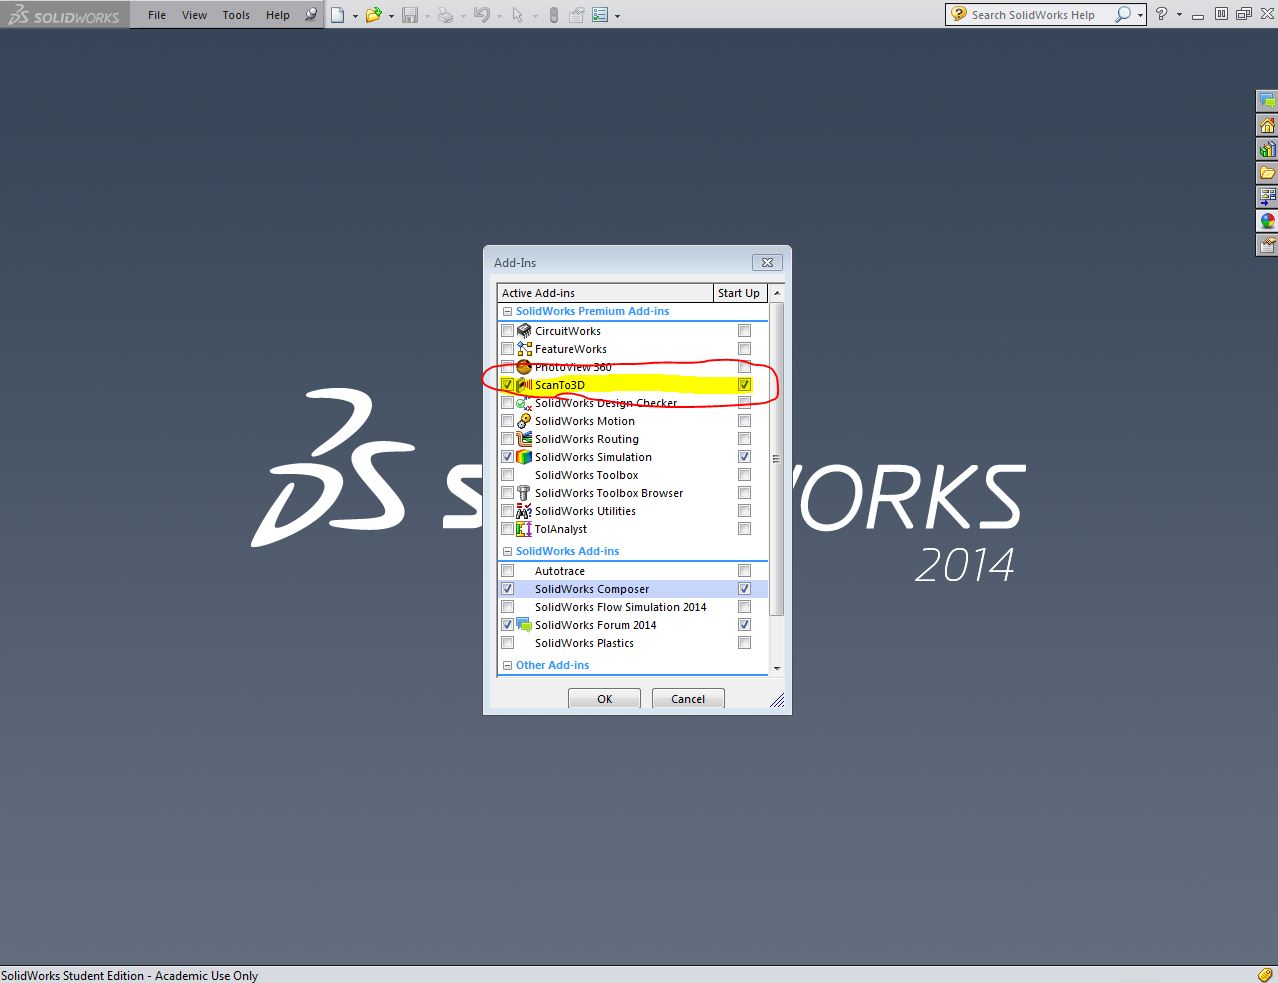
- In the Active Add-ins section, check Scanto3D. This setting maybe different depending on your version of SolidWorks.
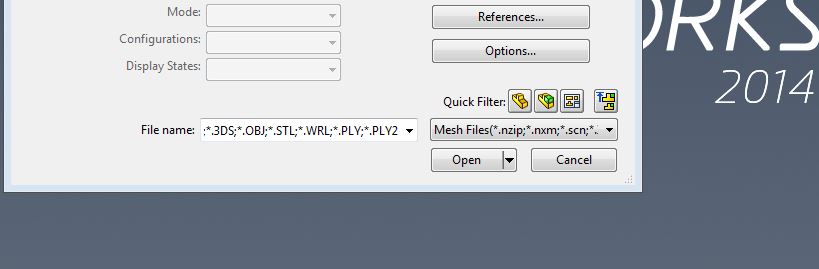
- On the main menu, click File > Open.
- In the Open window, use the file type drop down menu to select Mesh Files. Navigate to the place where you stored the .STL file you exported from Measure 10 and click Open. The .STL file opens inside SolidWorks .
- Save the file and use the Mesh Prep Wizard to configure a mesh. Refer to the SolidWorks support page for details about using the Mesh Prep Wizard.
See Also
- CAD Translator Files for Measure 10 or Q
- Import and Export Options for IGES Files in Measure and SolidWorks Software
Keywords:
import file formats, export file formats, file sharing, CAD translators, CAD files, 3D CAD files