Create a present4D Project
Overview
A present4D project can be created in minutes using the built-in editor. Add 360° images or locations, and then add media to each location.
Details
- At the Project Portal screen, click +Create.

- Type in a project name and press Enter.
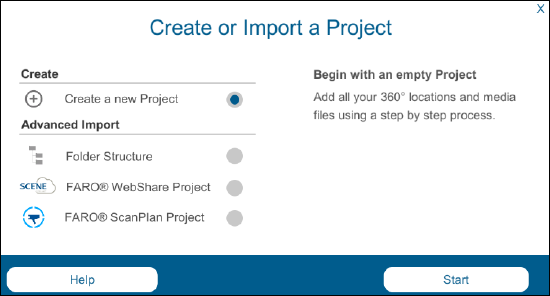
Note: The name can only contain standard alpha-numeric characters. - Choose to create a blank project or import available projects, and click Start.

- A tutorial panorama is displayed that explains how to build a project.
Create a Location
Locations are 360° images that contain hotspots leading to other locations or displaying media.
- Double-tap the Space Bar to enter Editor Mode.
Note: You must be in Editor Mode to select your content and define the structure of your presentation. - Open the iMenu by double-clicking an empty portion of the screen or clicking the iMenu icon in the lower-right corner.

- Choose the type of 360° image to add at the bottom of the iMenu.
- Navigate to a location using the arrow icon in the iMenu.

- While viewing a location, use the iMenu to add hotspots or media.

