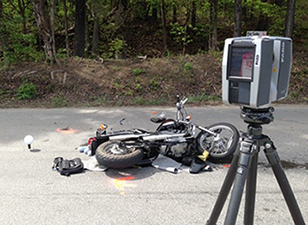
FARO Scan Verification Tool - Digital Hashing
![]()
Overview
This article guides you through the process of “Digital Hashing”, providing the free FARO Scan Verification Tool Download and Manual, and explaining step-by-step how to verify scans.
What is “Digital Hashing”?
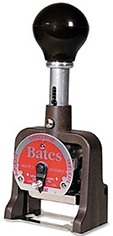
Digital hashing is the process of using a secure algorithm to map a set of electronic data into a single, large string of numbers and letters. This string is called the hash value. Since no two electronic files can have the same hash value, it is like a secure signature or fingerprint for that data.
The smallest change in the original data produces a large, random change in the hash value. For example, if just one pixel is changed in a digital image, the new hash value for the data will be dramatically different. This makes it obvious if the data has been modified.
For forensic digital evidence, hashing is considered similar to a Bates Stamp used for paper documents. Not only can the hash value be used to identify the specific data, it also guarantees the authenticity of the original data set.
The following FARO scanners automatically calculate a hash value for the data every time a scan is captured:
- Focus Premium Max
- Focus Premium
- Focus Core
- FocusS, FocusS Plus, and FocusM
- ScanPlan
- Freestyle2
The Importance of Hashing for Public Safety Users
It is well known that electronic data can be modified – even laser scan data. When laser scan data is submitted in a court case as evidence, the opposing side may question if it has been tampered with. For example, if there is an objection to the chain of custody record for the scan data, it may be necessary to verify that the submitted scans are identical to the data that was originally collected. This is easy to do if a hash value was calculated when the laser scans were first captured.
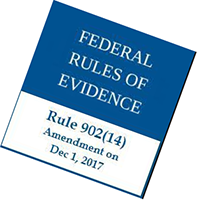 In the United States, and many other countries, hashing is the accepted method to validate that the data has not been modified since it was collected. In 2017, the US Federal Rule of Evidence 902 was amended to say “…data copied from electronic devices, storage media, and electronic files are ordinarily authenticated by “hash value.”
In India’s Information Technology Act of 2000, verification of a digital hash is required for ALL electronic data files submitted as evidence in court. Hashing is recognized as the most effective way to prove that laser scans of a forensic scene have not been tampered with.
How Does FARO Apply Digital Hashing?
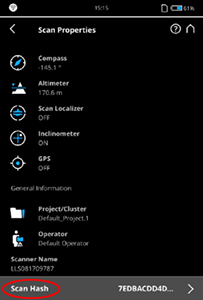
FARO has a patented process that uses digital hashing to secure data captured with FARO scanners. FARO scanners automatically calculate a hash value for the data every time a scan is captured. This feature is enabled by default and no setup is required, so there is no way for a user to forget to hash the data. It only takes about one second for each scan to be hashed.
FARO uses the SHA-2 hashing algorithm with a signature width of 256 bit. This algorithm is accepted by the US Federal Rules of Evidence for hashing data submitted as evidence in court.
The FARO Scan Verification Tool is used to calculate the current hash values of a scan project and compare them to the original hash values when the scans were captured. Using this tool, it can be validated at any time that the original, raw scans have not been modified.
FARO Scan Verification Tool Download and Manual
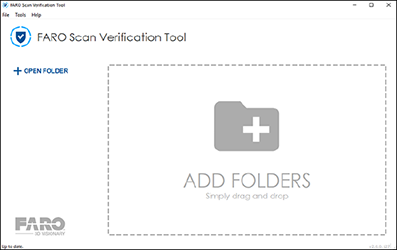 The Scan Verification Tool is a free software application that allows anyone to verify a scan's authenticity by comparing its current hash value to the value calculated when the data was captured. When scan verification is finished, the tool will display a list of the scans with status icons to the right. If desired, a detailed report is generated that shows the verification status for the selected scans.
The Scan Verification Tool only compares the original, raw scan data. If the scan data is registered and filters applied in SCENE software, the SCENE project would have a different hash value. The revision history maintained by SCENE software can be used to verify modifications made to the project after the scans were first captured.
With the latest firmware updates, FARO scanners now digitally sign scans to make it possible to detect if a scan has been modified after its creation. The Scan Verification Tool allows you to verify a scan's authenticity and print a detailed report.
What's New:
- Support for Focus Premium scans
- Support for Freestyle 2 scans
- Small usability improvements, especially with regard to verification of Focus Swift sequence
Download
| App Name | Date | Version | |
|---|---|---|---|
| Scan Verification Tool (Win&MacOS) | 12 Apr 2022 | 2.2.0 | |
| Scan Verification Tool Manual | 12 Apr 2022 | 2.2.0 |
Installation - PC
- Download the app to a folder of your choosing.
- Open the folder in Explorer and double-click FARO_Scan_Verification.exe to begin the installation.
- Follow the prompts to accept the license agreement, choose an installation directory, and select a Start Menu folder.
- Click Install to begin installation.
Installation - Mac
- Open the downloaded dmg-file FARO_Scan_Verification.dmg.
- The installation dialog appears.
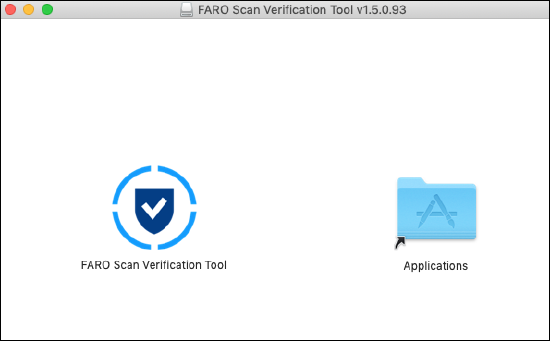
- Drag the FARO Scan Verification Tool icon onto the link to the Applications folder.
- For starting FARO Scan Verification Tool for the first time, go to the Finder, open your Applications folder.
- Right-click FARO Scan Verification Tool.
- Select Open.
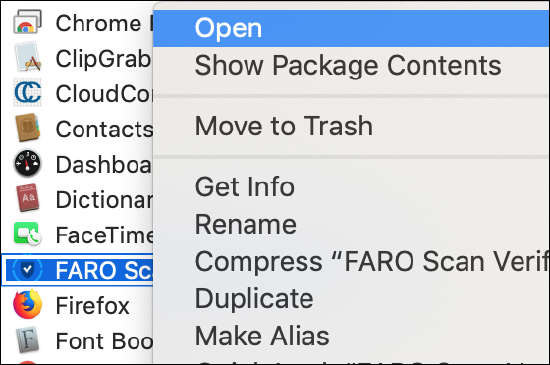
- Click Open again to confirm.
Note: This must be done only once. Afterward, you can open the FARO Scan Verification Tool with a double click.
Verifying Scans
-
Start the tool. The Welcome Screen appears.
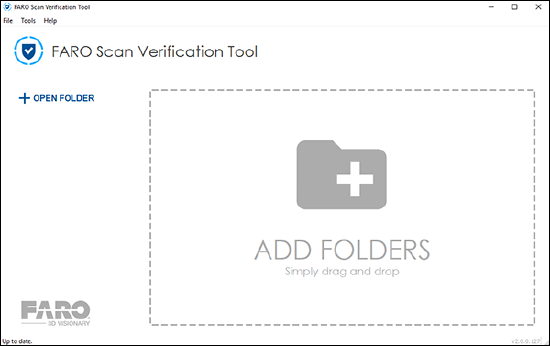
- Drag a folder with scans into the ADD FOLDERS window, or click OPEN FOLDER and navigate to the scan folder.
- FARO Focus scans: Drag the scan folder 0xx.fls or the folder containing multiple scans to FARO Scan Verification Tool.
- ScanPlan Projects: Drag the project folder to FARO Scan Verification Tool.
- Freestyle 2: Located in "RawScans" folder of the project. Signed files end with .signed. Draw RawScans folder to ADD FOLDERS.
- The scans will automatically be processed, and the result of the verification shown.
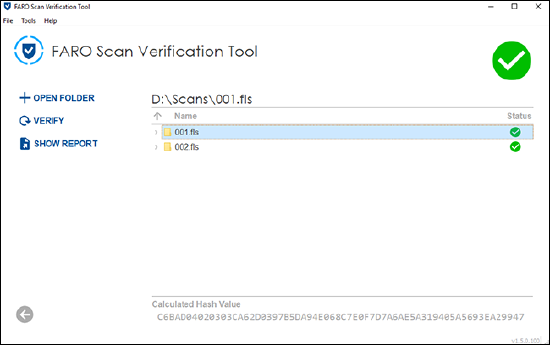
Verification Results
When scan verification is finished, the tool will display a list of the scans with status icons to the right.
| Icon | Available for Scan Folders | Available for Scan Files | Status |
| Yes | Yes | Unknown/not yet processed | |
| Yes | Yes | Success | |
| Yes | Yes | Failure for whatever reason | |
| Yes | No | Unexpected file | |
| Yes | No | Scan subfolder | |
| Yes | No | A hash/signature file; not part of the hashed scan |
Select a scan and click SHOW REPORT to view a detailed report of the scan verification result.
You can save the displayed report as a text file by clicking Save and specifying the directory and filename of a report file.
Manually Verifying a Scan
You can manually verify the hash value on the main screen. When you open a file, you will see an additional field where you can enter the expected hash value for a file.
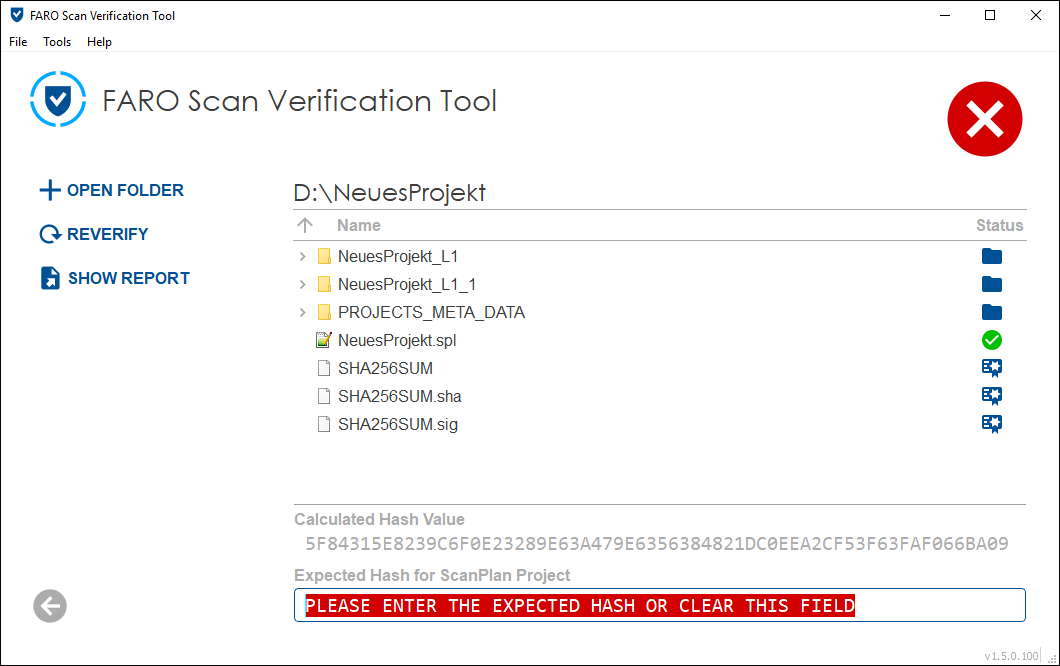
If you clear the field or enter the first five correct values, the project will be marked as verified.
Note: The field does not auto-fill the expected hash value, and the report will show which characters were entered in the field.
Focus Scan Hash Value
-
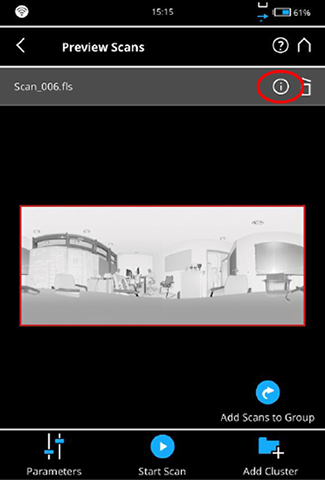
Open the scan preview.
-
Click the info icon to open the Scan Property Page.
- Click Scan Hash at the bottom of the Scan Property Page.
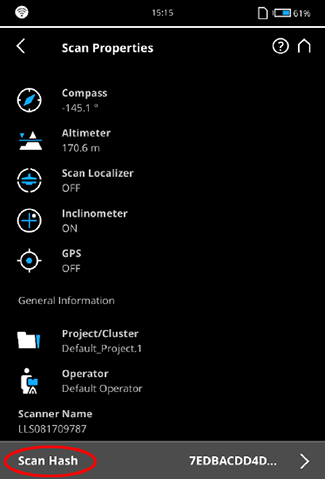
- The scan hash value appears.
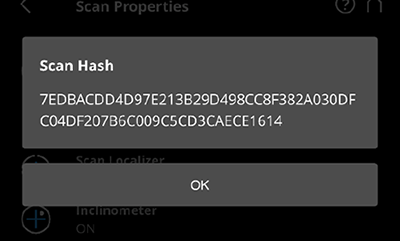
ScanPlan Hash Value
- In the project view on your ScanPlan, click the upper, right menu.
- Click Sign Project.
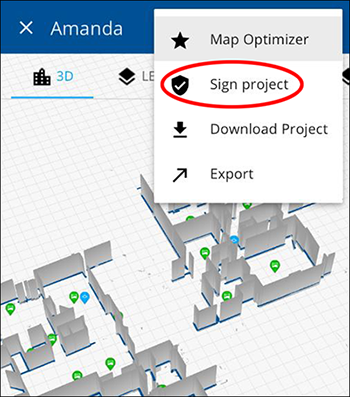
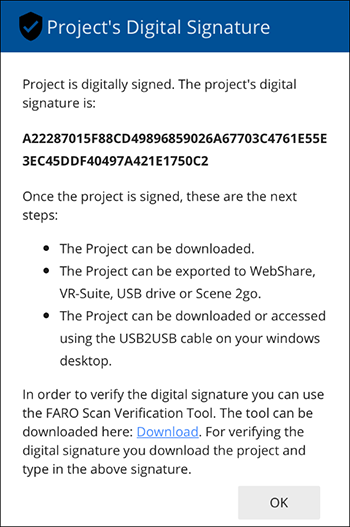
- The project will be signed. An information box will appear containing the hash value.
Signature Verification Key
On startup, the default public key for RSA signature verification, installed together with the tool, is loaded. If the key file is missing or was corrupted, the tool detects this and prompts you to open another key file.
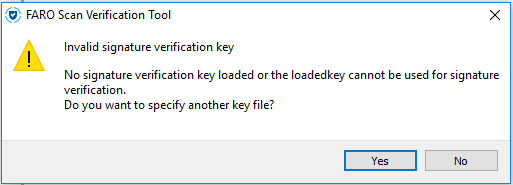
If the scan verification process is started without a valid key, a partial verification can be performed, but the actual digital signature verification will fail.
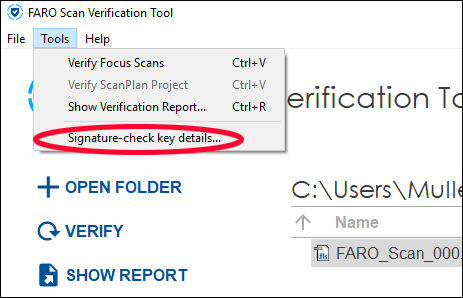
Once a valid key is loaded, you can see its properties by clicking Tools > Signature-check key details.
Frequently Asked Questions
Q: I try to verify my scan, but the FARO® Scan Verification Tool keeps showing the project is not signed.
A: Check if your Scan folder or ScanPlan folder contains the file ‘SHA256SUM’. If not, the project is not digitally signed and thus, cannot be checked.
Make sure you verify scans that are copied directly from the SD card or USB flash drive of your device. Verify that the firmware version for the FARO Focus is at least 6.3.0 and for FARO ScanPlan at least 2019.0.
Q: Are there keyboard shortcuts?
| CTRL-O | Open Folder. |
| CTRL-B | Browse System. |
| CTRL-V | Verify selected folder. |
| CTRL-R | Show report of the selected folder. |
| CTRL-S | Save Report as PDF document. |
| CTRL-P | Show the PDF, so you can print it. |
| ESC | Closes all dialogues. |
| BACKSPACE | In the Tree View, go a level up (cd ..). |
| CTRL-U | Check for updates. |
| CTRL-Q | Quit the app. |
Q: I cannot open the SD card on macOS
A: Refer to the article Memory Cards Used With the Focus Laser Scanner and Formatting Instructions. That article explains, how to create an SD card that is compatible with macOS and the FARO Focus scanner.
If you did not do so with your current SD card, you unfortunately will have to copy your scan on another (Windows) PC to a medium (e.g., USB flash drive) that is readable on macOS.
Q: I want to verify the scans in my SCENE project folder, but it does not seem to work.
A: SCENE removes the signatures when saving into the "revisions" folder. To verify a scan, you must use the original data from the FARO Focus Scanner. If you were using On-Site Registration, you find the original data in the "RawScans" folder in your project.

