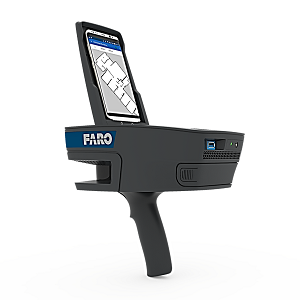
Using Anchor Points with ScanPlan
Overview
 An Anchor Point is a scanned corner that you manually mark during mapping. Typically, they are placed at the beginning of the scan but can be placed at multiple points throughout the scan. This can improve the quality of the map—especially when you are scanning large areas, or areas that are difficult to scan (such as a room with many large windows). Before you finish a map, you can “map” the same corner(s) again and confirm that it is the same point.
Anchor points are denoted as a special annotation type and will be marked with a ![]() symbol. Best results are achieved when Anchor Points are placed in the corner of room with perpendicular (~90°) walls.
symbol. Best results are achieved when Anchor Points are placed in the corner of room with perpendicular (~90°) walls.
Adding an Anchor Point
- Map a corner. A corner close to 90 degrees is the best.
- Tap the annotation button.

- Then tap Anchor Point from the menu.

- Tap the location of the corner in the map (otherwise the app will attempt to find a location automatically).

The
symbol will appear to indicate the corner as anchor point.
- Tap
 to confirm and save the anchor point.
 - Continue mapping and add additional anchor points to the map where useful.
Confirming an Anchor Point
For an anchor point to be useful, it is important to confirm it is in the correct location. When you are ready to stop scanning or while on the way back to “close the loop”, walk to the scanned corners that you designated as anchor points and confirm them.
- Walk to the area where you marked an anchor point, (if you are close to the anchor point it will be highlighted).
- Tap the anchor point in the map. Then tap
 and scan the corner again.
Note: Make sure that you do not scan any other corners, as this can create invalid results.

- When the corner is scanned, you will receive confirmation from the App.

