
Hide Features in CAD with CAM2
Overview
You can hide individual features of a CAD model in CAM2 by creating a new layer within the CAD file and then drag-and-dropping the features you'd like to hide into the new layer.
For more information, consult the CAM2 User Manual and visit Chapter 2: CAD, Layers.
Details
- Open your CAM2 software.
- Click
 CAD tab at the bottom-left of the interface.
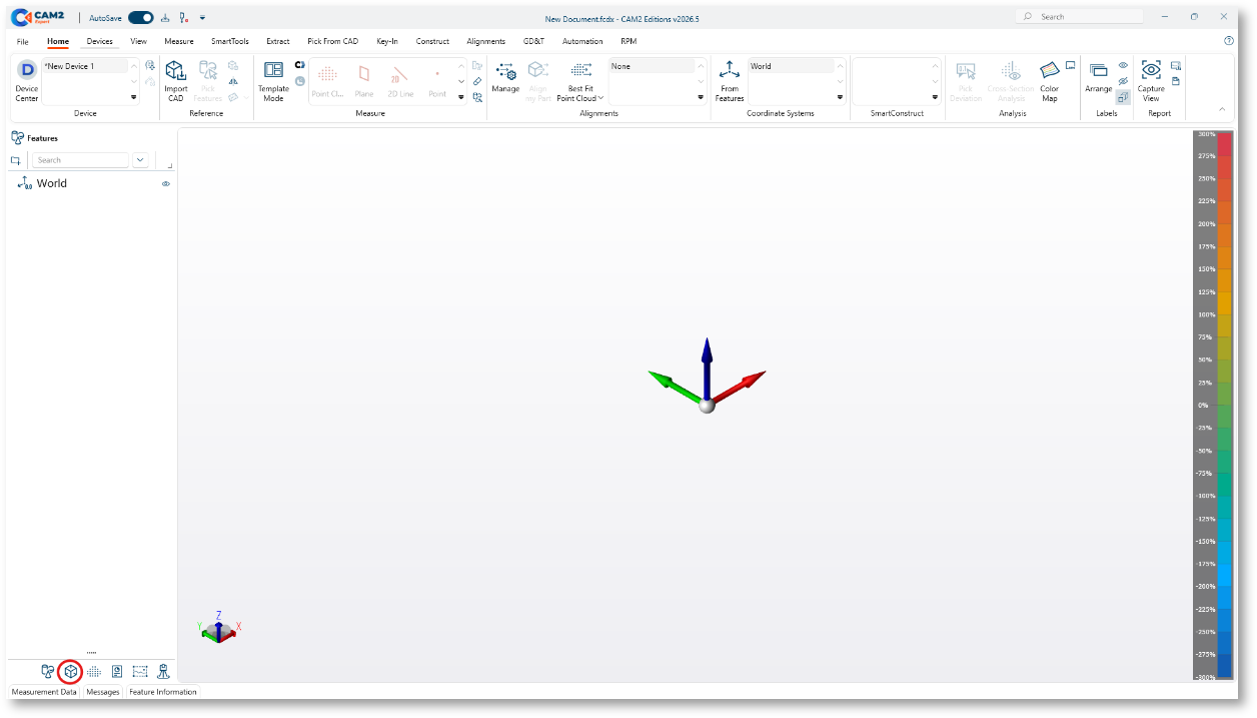
- Click the link within the dialog box, "You can start by importing a CAD part" or click Import CAD at the top left of the interface.

Navigate to CAD file and click Open. - Click the arrow
 next to the CAD part to expand the Bodies of the CAD.
Click the arrow for the Body to expand the individual faces of the Bodies.

- Click Add on the ribbon to add a layer.
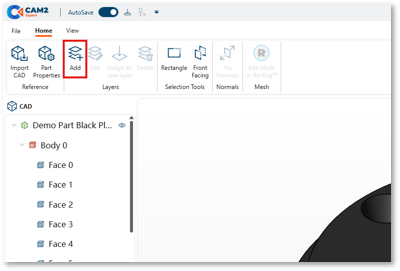
- Name the layer and click OK.

- After created, the layer folder will be above the CAD file name, as shown below.

- Option1: Select and drag-and-drop the Faces you'd like to hide into the new layer folder.
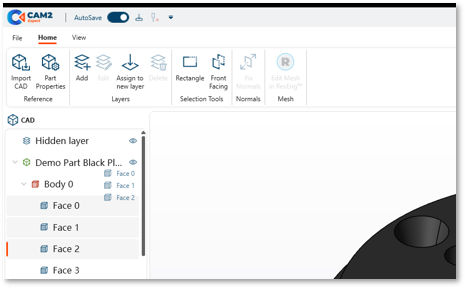
Tip: Hold CRTL + select multiple faces and then drag-and-drop them into the layer folder.
Option 2: Using the left mouse button, select the required surfaces by clicking directly on the CAD model, then right click and select from the options:

Tip: Hold CRTL + select multiple faces. - To the right of the layer folder, click the eye
 to hide the Faces you placed inside the layer folder.

- You should now see the Faces you've hidden disappear from the CAD model, as shown below.
