Creating an Overview Map with SCENE 2go
Overview
Creating an Overview Map or floor plan of a scan project in FARO® SCENE can make visualization and presentation of a scan project much easier.
Creating an Overview Map with SCENE 2go
SCENE 2go is an easy way to view scan projects. Creating SCENE 2go data also creates a top-view scan map.
- In the Apps ribbon, open the SCENE_2go submenu and click Create Scene 2go Data.

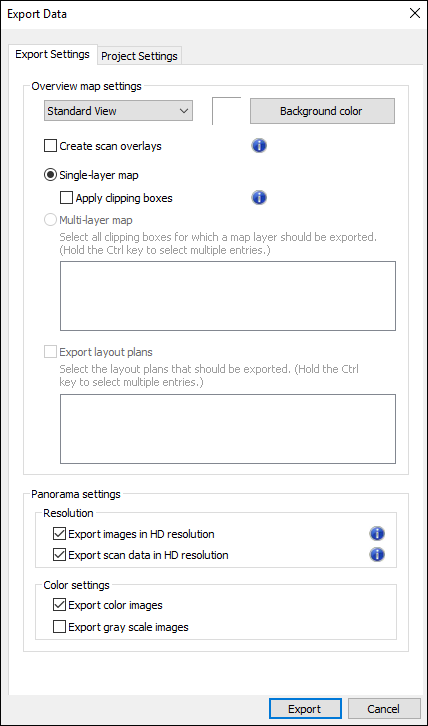
- Click the Export Settings tab and choose the settings for your project.

- Overview map settings - This setting changes the scan map look.
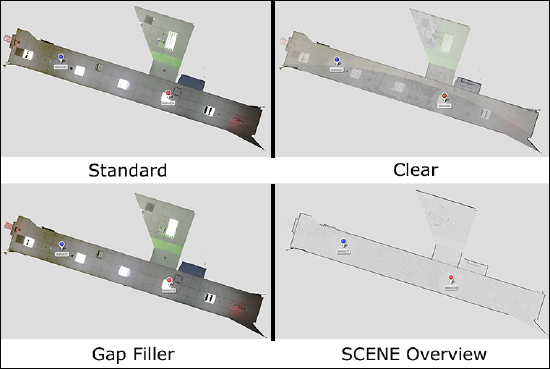
- Standard View - This view contains a normal, color overview map.
- Clear View - This setting creates a map that is partially transparent.
- Gap Filler - Use this setting to fill in scan point gaps and create a higher quality image.
- SCENE Overview Map - This creates a grayscale map.

- Background color - This setting changes the color behind the overview map.
- Create scan overlays - This option displays the coverage of each scan in the map.
- Single-layer - This option creates a map with a single layer.
- Apply clipping boxes - This option activates clipping boxes for use in the map.
- Multi-layer map - This option allows the creation of a multi-layered map defined by clipping boxes.
- Export layout plans - This setting allows you to export multiple layout plans.
- Panorama settings - These options allow you to export images and scan data in HD.
- Color settings - These settings allow you to export color or gray scale images
- Overview map settings - This setting changes the scan map look.
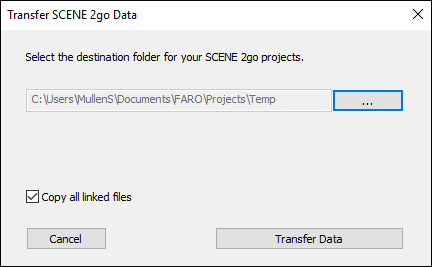
- To view your map, click TransferSCENE 2go Projects in the SCENE 2go submenu.
- In the transfer window, click ... to designate a destination folder and click Transfer Data.

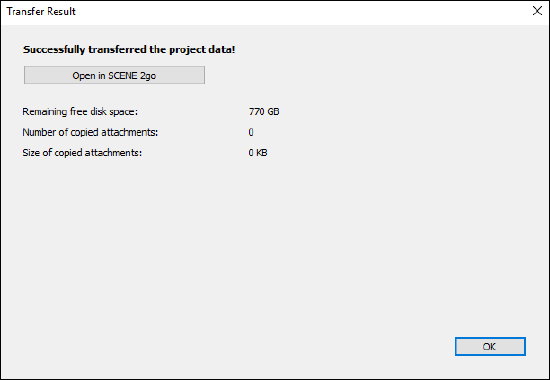
- When the transfer is finished click Open in SCENE 2go to view, or click OK.

Keyword: tomograph, tomography, floor, plan, slice, thickness, export

