Create Fly-Throughs with Total View in FARO Zone 3D

Overview
 The Total View tool, introduced in FARO Zone 3D 2018, is used to create fly-thrus and walk-thrus of any FARO Zone 3D project. You can prepare a fly-thru of the entire scene, including the point cloud, diagram, 3D models, fire, even animations.
The Total View tool is also used to create “saved views” of your scene that can be used at any time. If you navigate to a desired view of the scene, save it and give it a name. Later, just two clicks lets will let you return to that exact view.
Tutorial Download
If you would like to view a .far file of a completed fly-thru, download the accompanying tutorial file.
Create a Fly-Thru
- Navigate/position the view of your scene where you want to start your fly-thru animation.
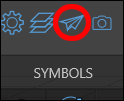
- Click the “Total View” icon from the top menu of the screen, or from the Animation menu.
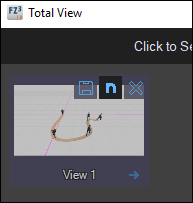
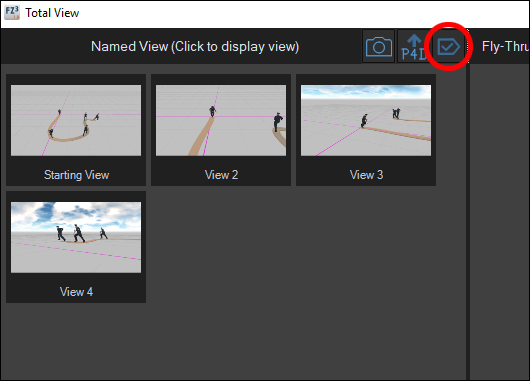
- Click the camera icon to save a viewpoint.

- To rename a viewpoint, hover your mouse over the snapshot and click the “n” symbol.
Note: You probably will want to save at least six or seven viewpoints for a good fly-thru. -
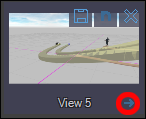
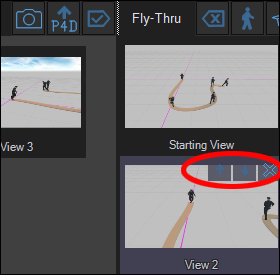
To assign a viewpoint to the fly-thru, hover over the image and click the arrow.
To move all of the viewpoints, click the checkmark icon.
- Click on any of the screenshots in the right-hand Fly-Thru column to jump to that view. Place your mouse on the screenshot (hover there) and click the arrow buttons to move that view up or down in the sequence. Use the “X” icon to remove that view from the fly-thru.
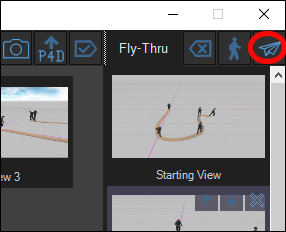
- Click the paper airplane icon in the Total View window to create the fly-thru from the selected views.
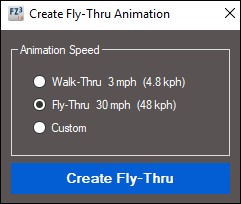
- Choose whether you want a Fly-Thru or Walk-Thru, enter a custom speed, if desired, and then click Create Fly-Thru.
- Click the Play arrow on the Animation toolbar, or in the lower right of the screen
 to watch the fly-thu.
Fly-Thru Properties and Reactivation
Fly-thrus created with Total View are an animation. This means all the options that apply to animations can also apply to fly-thrus, such as the play speed. If you have another animation in the project, in addition to the fly-thru, it will play at the same time.
Important Note: If you create a project with a vehicle animation and a fly-thru, the next time you open the project, only the vehicle animation will play. This can be very confusing as you wonder what happened to your fly-thru.
There are two ways to re-activate your fly-thru:
- Open the Total View tool. All your saved views will still be there. You can quickly repeat steps 8 through 10, above, to re-create your fly-thru.
-or- - Zoom back far enough until you can see the wavy animation path of the fly-thru. This is easier to do if your fly-thru views are elevated above the scene. Click on the path to activate it. Click the play button and both of your animations should now play.