Sharing Scan Projects using SCENE 2go

Quick Steps
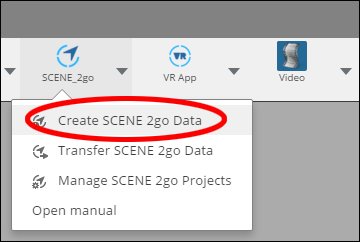
- Click Create SCENE 2go data in SCENE_2go submenu on App ribbon.
- Adjust export settings and click Export.
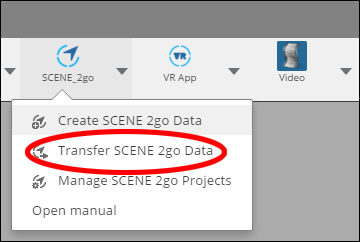
- Click Transfer SCENE 2go data in SCENE_2go submenu to copy files to USB drive or other storage device.
Video
In this six-minute video FARO® Sales Engineer Si Horton explains the features of SCENE 2go including how to export files.
Overview
SCENE 2go is a portable viewer for SCENE projects. It is the successor of WebShare 2Go 2.0. You can put the SCENE 2go data of one or more scan projects onto a USB stick (or any other external storage medium) and view these scan projects on a computer without the need of an online connection.
Prepare
Please review this table before you begin.
| Time to Complete | 5 minutes |
| Skills Needed |
|
| Prerequisites |
|
Workflow Interface
- Click the App icon
 in the top right corner of the workflow interface.

- Click Create SCENE 2go Data in the SCENE_2go submenu on the Apps ribbon.
- Choose the SCENE export settings for the project and click Export.
- After the data is created, Click Transfer SCENE 2go Data in the SCENE_2go submenu.
- Click ... to choose a destination drive and folder for the project.
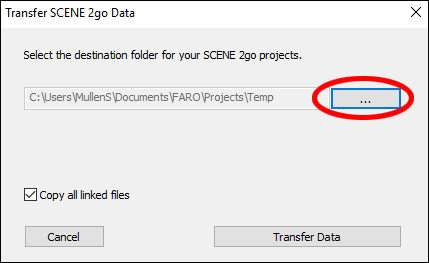
- Click Transfer Data.
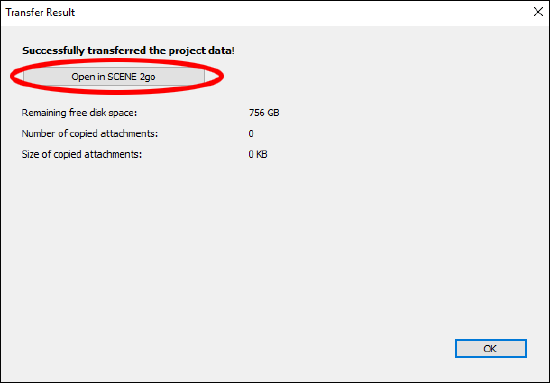
- Click Open in SCENE 2go in the Transfer Result window to verify the exported data, or click OK.
Classic Interface
- Click the Create SCENE 2go Data icon
 in the SCENE_2go toolbar.

- Choose the SCENE export settings for the project and click Export.
- After the data is created, Click the Transfer SCENE 2go Data icon
 in the SCENE_2go toolbar.
 - Click ... to choose a destination drive and folder for the project.
- Click Transfer Data.
- Click Open in SCENE 2go in the Transfer Result window to verify the exported data, or click OK.
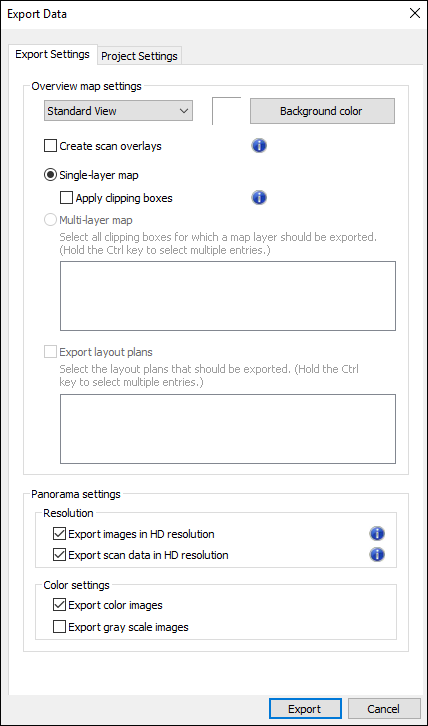
- Overview map settings - This setting changes the scan map look.
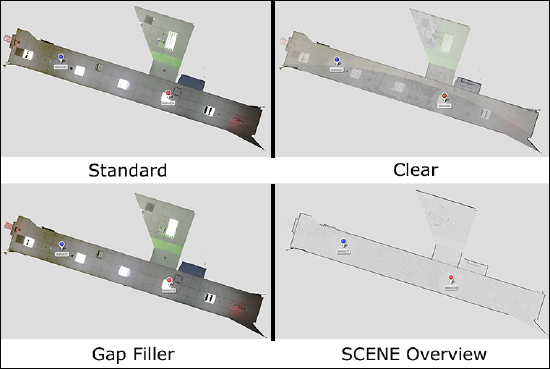
- Standard View - This view contains a normal, color overview map.
- Clear View - This setting creates a map that is partially transparent.
- Gap Filler - Use this setting to fill in scan point gaps and create a higher quality image.
- SCENE Overview Map - This creates a grayscale map.
- Background color - This setting changes the color behind the overview map.
- Create scan overlays - This option displays the coverage of each scan in the map.
- Single-layer - This option creates a map with a single layer.
- Apply clipping boxes - This option activates clipping boxes for use in the map.
- Multi-layer map - This option allows the creation of a multi-layered map defined by clipping boxes.
- Export layout plans - This setting allows you to export multiple layout plans.
- Panorama settings - These options allow you to export images and scan data in HD.
- Color settings - These settings allow you to export color or grayscale images.
Project Settings
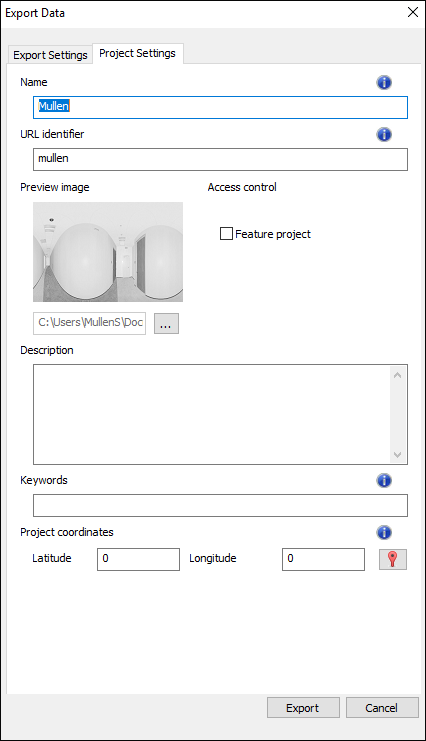
- Name - This field is used to identify the project in the SCENE 2go project selector.
- URL Identifier - This is the same as the project name by default but can be changed as needed.
- Feature project - Check this box to display the project in the featured box in SCENE 2go. This box appears at the top of the screen and is helpful if there are multiple projects.
- Description – Enter description text for the project
- Keywords – Enter keywords associated with the project, separated by commas.
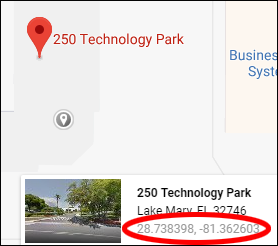
- Project coordinates – Enter the project’s latitude and longitude which must be decimal numbers between -90 and 90, the longitude between -180 and 180.
Note: Latitude and longitude can be found by directly clicking the map in Google maps.
See Also
- User Manual and Quick Start for the SCENE 2go App and Viewer
- SCENE 2go App Compared to the SCENE WebShare 2Go App
- Installing Apps in SCENE
Keywords
export scans, usb, view scans without SCENE, view project