Firmware Download for Laser Line Probe (LLP)
Overview
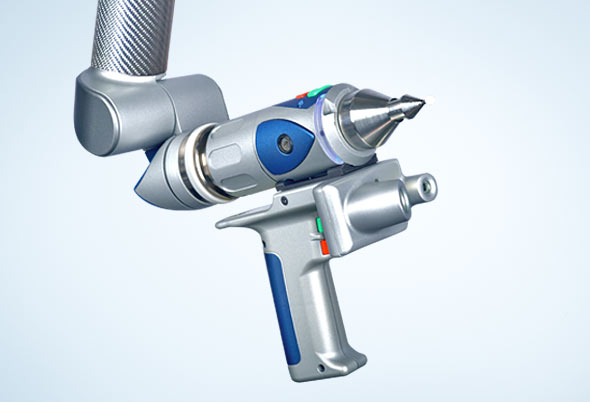
The Laser Line Probe (LLP) on your FaroArm® works best with the latest LLP firmware. Just download the firmware and follow the instructions in this article.
Before you install firmware, make sure you have the latest FaroArm® driver and firmware for your FaroArm, ScanArm®, or Design ScanArm model. Refer to the See Also links.
If you sent your LLP, ScanArm, or Design ScanArm to a service center after the firmware release date for your LLP model mentioned in the table below, the service center installed the latest firmware for you.
What's New
FAROBlu® xR, xP, xS, xE
Ver. 806.7
- Support for DTEX in LLP Settings
Prizm LLP
Ver. 703.8
- Fixed bug concerning connectivity and intermittent rebooting
V6 FAROBlu™ HD/SD and V6 HD LLPs
Ver. 750.3
- Improved recovery speed for image sensor.
Firmware Installation
- Check the installed LLP firmware version and compare it to the latest version number found in the table below.
- Click a link to download the firmware for your LLP model.
Note: If you are using an Prizm, FAROBlu, or HD(V6) LLP, you must contact FARO Support to send your LLP or Design ScanArm in to a service center so a technician can upgrade the firmware for you. This can not be done in the field.
Release Date LLP Model Version Number Download Apr 2026 FAROBlu® xR, xP, xS, xE 806.7 The firmware download file is specifically matched to each LLP, click here for download and installation instructions. Oct 2019 Prizm 703.8 Download not available, see Note above. May 2021 FAROBlu HD/SD (V6) 650.8/750.3 Download not available, see Note above. Oct 2019 HD (V6) 650.8/750.3 Download not available, see Note above. Sep 2013 ES (V5) 530 Apr 2011 LLP (V4) 444
Installing Firmware for the ES(V5) and LLP(V4)
CAUTION: The firmware for the LLP and LLP ES are NOT compatible with each other. Verify that you have downloaded the correct one before installing.
- Download the latest firmware for your LLP model.
- Extract the firmware .zip file to an empty folder.
- Open the folder and execute the UsbFlashLLP_V#_Firmware###.exe file.
- Confirm the LLP firmware version has changed.
Check LLP Firmware Version
There are several ways to check the LLP firmware version depending on what software you use. The most common way is to use the FaroArm Manager, but you can also check the LLP firmware using CAM2 2018 or later and Measure 10.
FaroArm Manager
If you have installed the FaroArm driver version 6.x.x.x or later, you have access to the FaroArm Manager. This tool is installed with the driver on all computers you use with your FaroArm. The FaroArm Manager enables you to quickly change FaroArm and LLP settings without opening other software.
- Connect your FaroArm with attached LLP to the computer using the USB cable.
- Turn on the computer and the FaroArm. Make sure that all applications are closed and nothing is communicating with the FaroArm and LLP.
- From the Microsoft Windows Start icon, click All Apps or All Programs > FARO > FaroArm Manager. The FaroArm Manager Home panel appears.
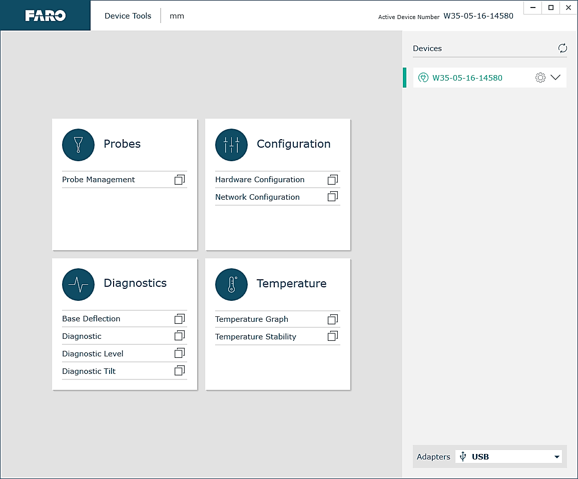
- In the Probes group, click Probe Management. All connected probes appear in the Probe Management panel.
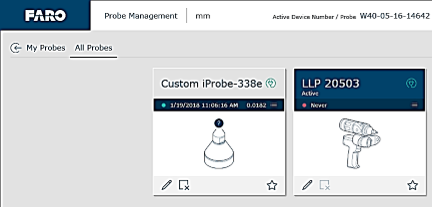
- Look for the tile for the LLP connected to this FaroArm. Click on the green Connect icon in the upper-right corner to update the information.
- Click on the Edit pencil icon in the lower-left corner. The details for this LLP appear.
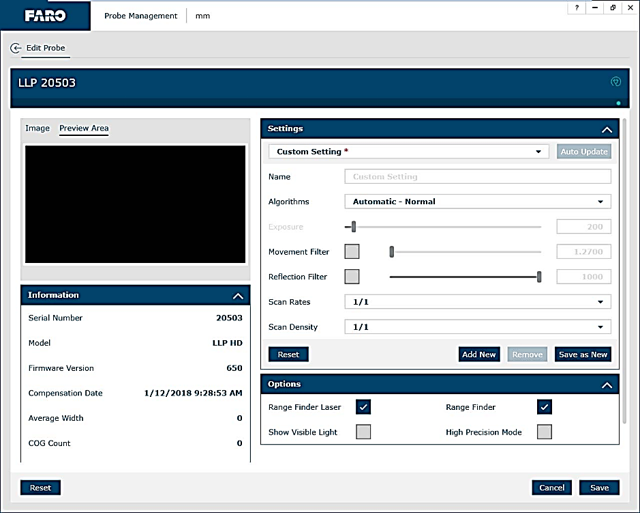
- Compare the Firmware Version number to that in the Quick Steps table.
- If the firmware is not the latest, write down this number so that you can verify that it has changed after you install the latest firmware.
CAM2 2018 and Later
- Connect your FaroArm with attached LLP to the computer using the USB cable.
- Turn on the computer and the FaroArm. Make sure that all applications are closed and nothing is communicating with the FaroArm and LLP.
- Open CAM2 20YY.
- From the ribbon, click Home > Device Center. The Device Center panel appears.
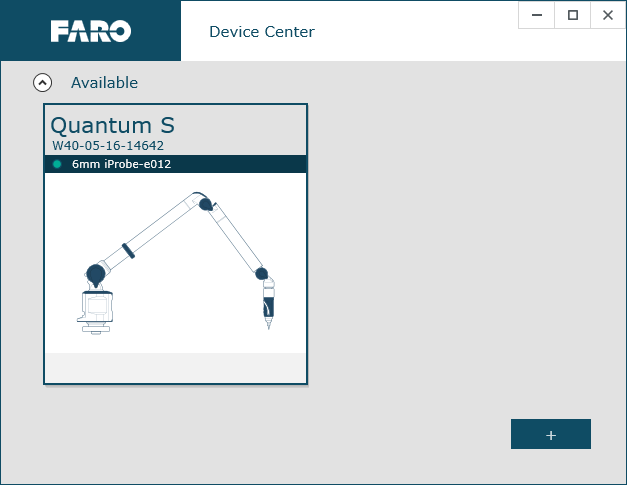
- Click on the FaroArm with the LLP attached. The Device Information panel appears.
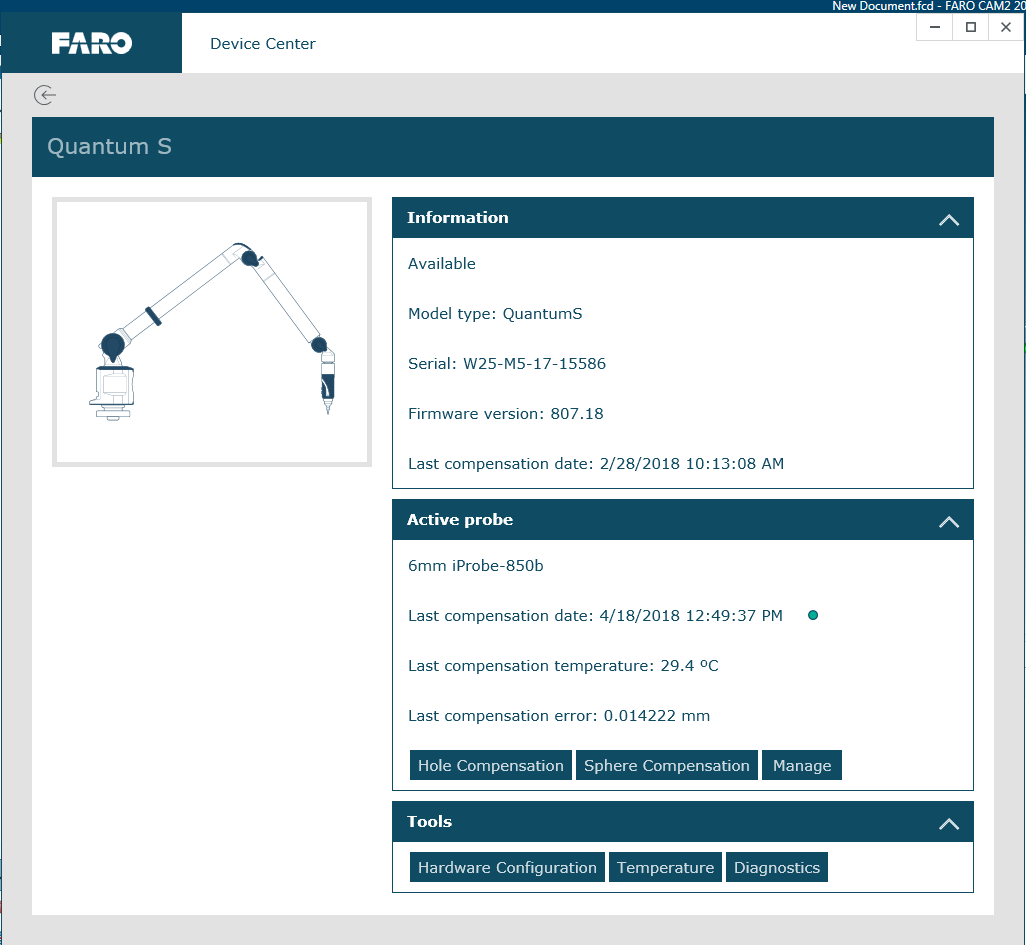
- Click on Manage. In the All Probes group, look for the tile for the LLP connected to this FaroArm. Click on the green Connect icon in the upper-right corner to update the information.
- Click on the Edit pencil icon in the lower-left corner. The details for this LLP appear.
If you are using a FaroArm driver 6.x.x.x or later, this is what you see.
If you are using a FaroArm driver 5.8.5.2 or earlier, this is what you see.
- Compare the Firmware Version number to that in the Quick Steps table.
- If the firmware is not the latest, write down this number so that you can verify that it has changed after you install the latest firmware.
Measure 10
- Connect your FaroArm with attached LLP to the computer using the USB cable.
- Turn on the computer and the FaroArm. Make sure that all applications are closed and nothing is communicating with the FaroArm and LLP.
- Open Measure 10.
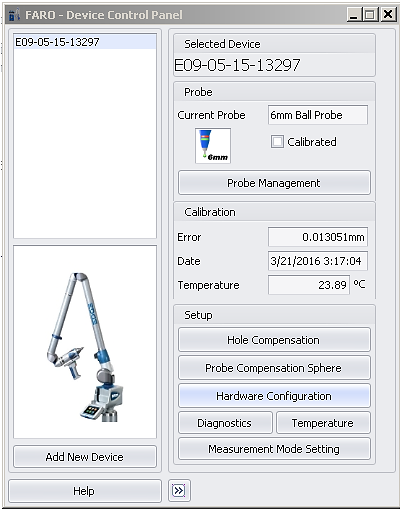
- From the main menu, click Devices > Device Control Panel (in some versions called Hardware Configuration). The Device Control Panel appears.
- Click Measurement Mode Settings. The Mode Settings window appears.
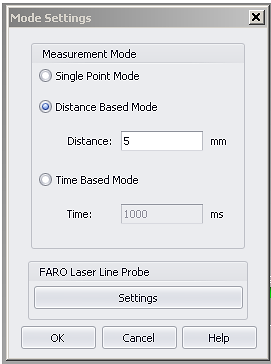
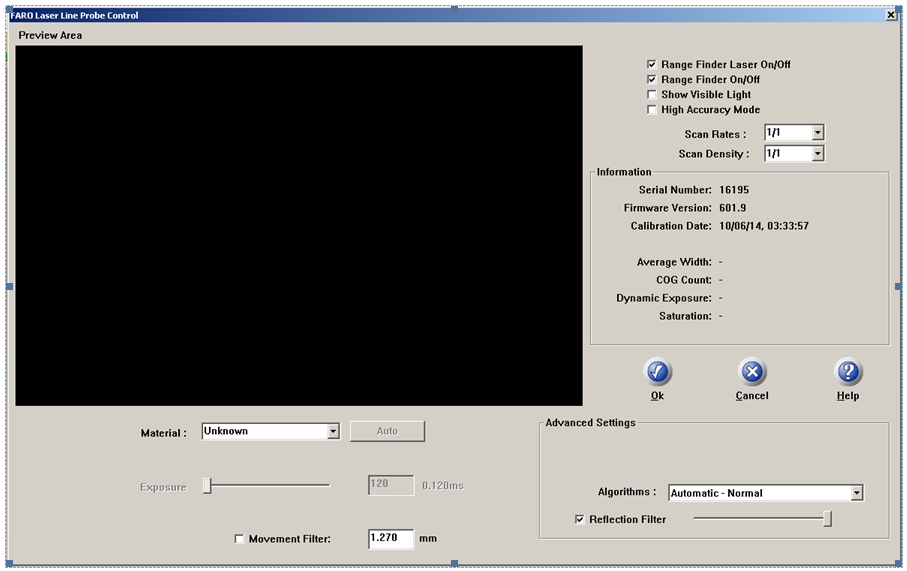
- Click Settings. The Laser Line Probe Control Panel appears.
If you are using a FaroArm driver 6.x.x.x or later, this is what you see.
If you are using a FaroArm driver 5.8.5.2 or earlier, this is what you see.
- In the Information section, compare the Firmware Version number in the LLP Control Panel to that in the Quick Steps table.
- If your firmware is not the latest, write down this number so that you can verify that it has changed after you install the latest firmware.
Production Status
This table shows you which LLP models are currently in production and which are considered to be in Legacy status. FARO supports Legacy hardware for the length of time stated in your license agreement. If you have a legacy LLP and would like to learn about the ease-of-use features of the latest products, click here.
| Production Status | LLP Models |
| In Production Now | FAROBlu® xR, xP, xS, xE |
| Legacy | |
| Discontinue Date: Sep 2021 | Blu HD (V6) |
| Discontinue Date: Jun 2021 | Prizim (V6) |
| Discontinue Date: Oct 2019 | Blu SD (V6) |
| Discontinue Date: Sep 2017 | HD (V6) |
| Discontinue Date: Sep 2017 | ES (V5) |
| Discontinue Date: Dec 2013 | LLP (V4) |
| Discontinue Date: Sep 2017 | V3 |
| Discontinue Date: Jun 2011 | V2 |
| Discontinue Date: Apr 2005 | V1 |
See Also
- Compatibility for Laser Line Probes (LLPs) and FaroArms
- Driver for USB FaroArm, ScanArm, or FARO Gage
- Firmware Download and Installation Instructions for the Quantum S and Quantum M FaroArm
- Driver, Frimware, and Kiosk for the Edge FaroArm
- FaroArm Manager Introduction and General Instructions
Keywords
reinstalling, reinstall, re-install, updating, update, LLP driver, Laser Line Probe driver, laser probe, scanning, scanner, update, V4, V5, V6, version four, version five, version six, dsa, quantum s, quantum m