Processing and Registering Scans with SCENE
Overview
Processing and registering scans in SCENE is an intuitive process that begins after you have imported your scan data.
Process Scans
- Open the project.
- Click Project on the SCENE ribbon.
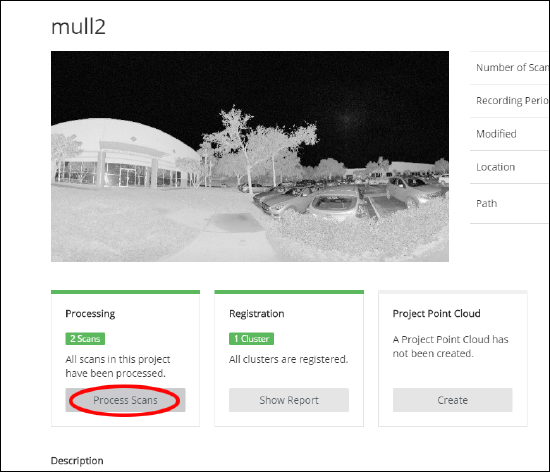
- Click Process Scans under Processing.

- Select the scans to process and click Configure Processing.
- Adjust the processing settings as desired.
- Click Start Processing.
If you get a screen that says processing failed it is likely that the SCENE couldn’t register the scans on its own. This could be for a couple of different reasons:
- There may not be enough overlap between the scans.
- The surfaces in the scene may be difficult to register, like blowing trees and tall grass.
- Rooms or surfaces in one area of the scene may look similar to other areas in the scene which can throw off registration. Mirrors in the scene could duplicate a room.
Register Scans
Even if the scans registered successfully during the project transfer, you will need to view and verify the registration.
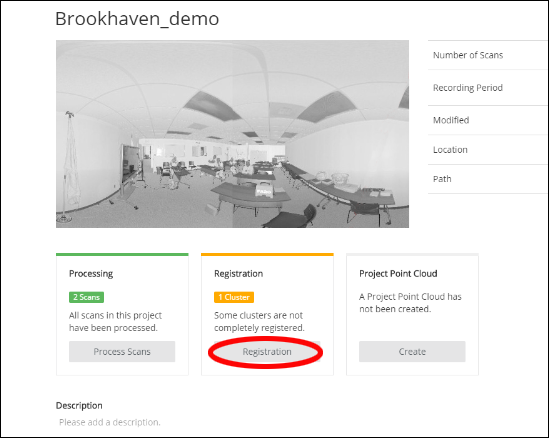
- On the project page, click Registration to check.\

- Click Verify Registration or the Scan Report icon.

- On the Register and Verify page, use the view toolbar at the bottom to compare your scans from different angles.
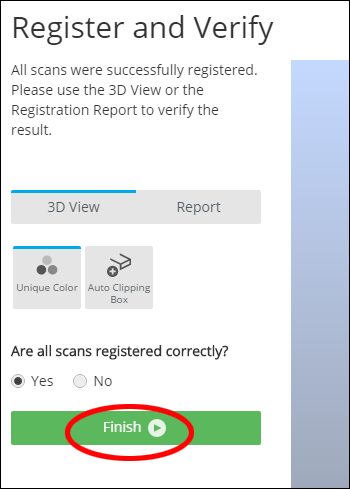
- If the scans are registered correctly, click Yes and Finish.

- If not, click No and Finish. You will be directed to register the scans again.
You can register scans later, by clicking the Registration tab on the SCENE ribbon.

